Last updated November 18, 2026



Free written scope consultation - allowances, timeline, and change-order rules on paper before a single trade is scheduled
Construction Permits, Codes & Inspections in Vallejo, CA: What You Need to Know
The permit fee is the smallest number in the whole equation. Homeowners in Vallejo tend to fixate on the few hundred dollars a building permit costs and treat it as the entire risk. It isn’t. The larger exposure is what happens years later, when unpermitted work surfaces during a sale as a required disclosure, and a buyer’s appraiser or lender starts asking questions nobody can answer. This guide walks through which residential projects in Vallejo actually need a permit and which don’t, how the city’s fire hazard zones shape what materials you can use, what the realistic approval timeline looks like, what inspectors truly check at each stage, and how California disclosure law treats work that was never signed off. If you’re planning a project here, this is the unglamorous part worth reading first.
Quick Answer
In Vallejo, most structural, electrical, plumbing, mechanical, and site-work changes require a building permit, while cosmetic work like painting, flooring, and cabinet swaps generally don’t. Fire hazard zone designations affect what roofing and exterior materials are allowed, and unpermitted work must be disclosed in a California home sale, which can complicate financing and appraisal. Plan for permit review and inspection stages on your project calendar before demolition starts, not after.
Styles & brands we work with
- Kitchen remodeling
- Bathroom remodeling
- Home additions & ADU
- Roofing
- Windows & doors
- Driveway & pavers
- Fence
Table of Contents
- What Triggers a Permit in Vallejo and What Doesn’t
- How Fire Hazard Zones Shape Your Roofing and Siding Choices
- ADUs and Additions: The Permit Path That Trips People Up
- The Realistic Permit Approval Timeline in Vallejo
- What Inspectors Actually Check at Each Stage
- Unpermitted Work, Disclosure Law, and the Cost of Fixing It
- Street-Level Quirks: Infrastructure Overlays and Older Housing Stock
- Common Mistakes to Avoid
What Triggers a Permit in Vallejo and What Doesn’t
The single most useful thing a homeowner can learn before planning a project is where the permit line falls. Get this wrong in the cautious direction and you pay for a permit you didn’t need. Get it wrong the other way and you inherit a liability that follows the property. Here’s how we break it down in practice, starting with the projects that almost always require review.
Projects that typically require a permit in Vallejo:
- New construction or any addition that changes the building footprint, including home additions & ADU projects
- Roof replacement or a structural roof repair (re-covering with the same material in a small area is a gray area; full replacement usually needs a permit)
- Electrical panel upgrades, new circuits, and any rewire beyond swapping a fixture
- Plumbing work that moves or adds supply or drain lines
- Interior walls that are load-bearing or that affect egress, and any new opening in an exterior wall
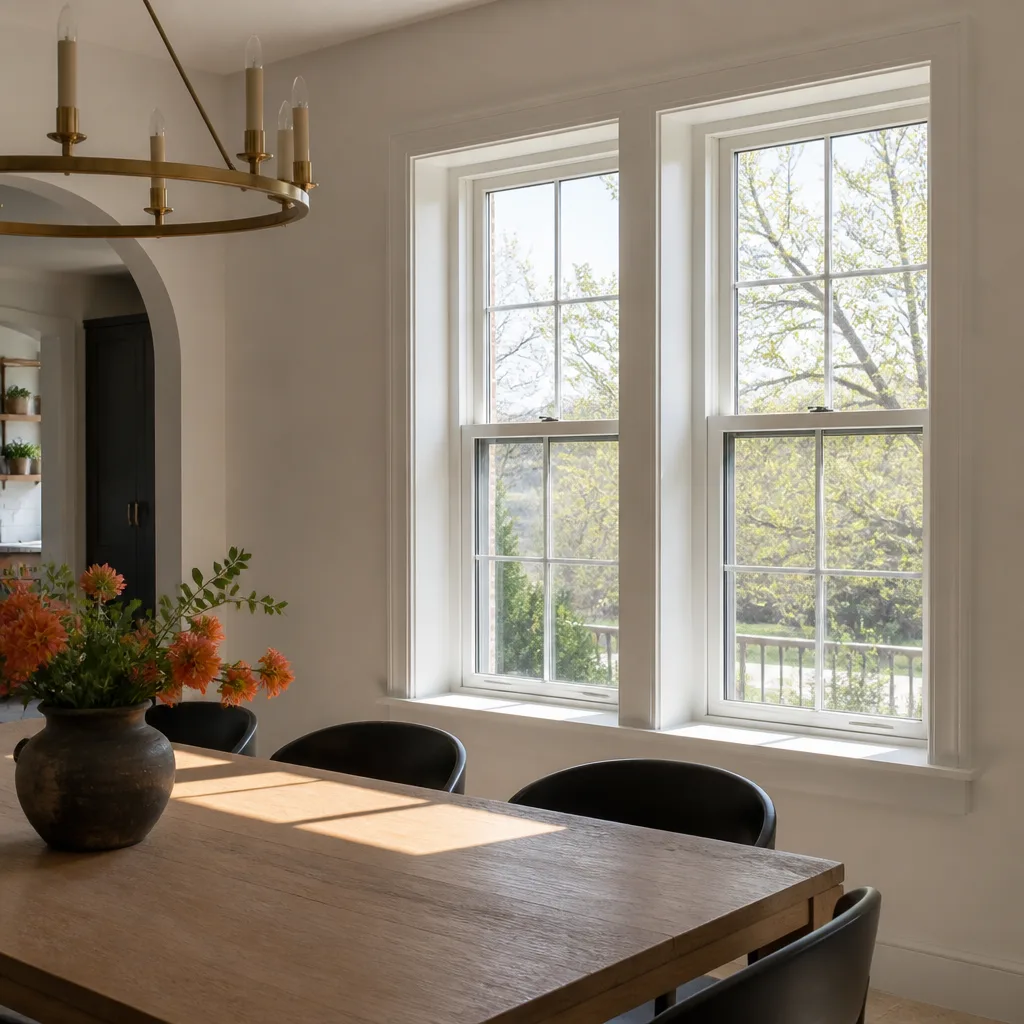
- Window and door replacements where the opening size changes, plus all new window openings
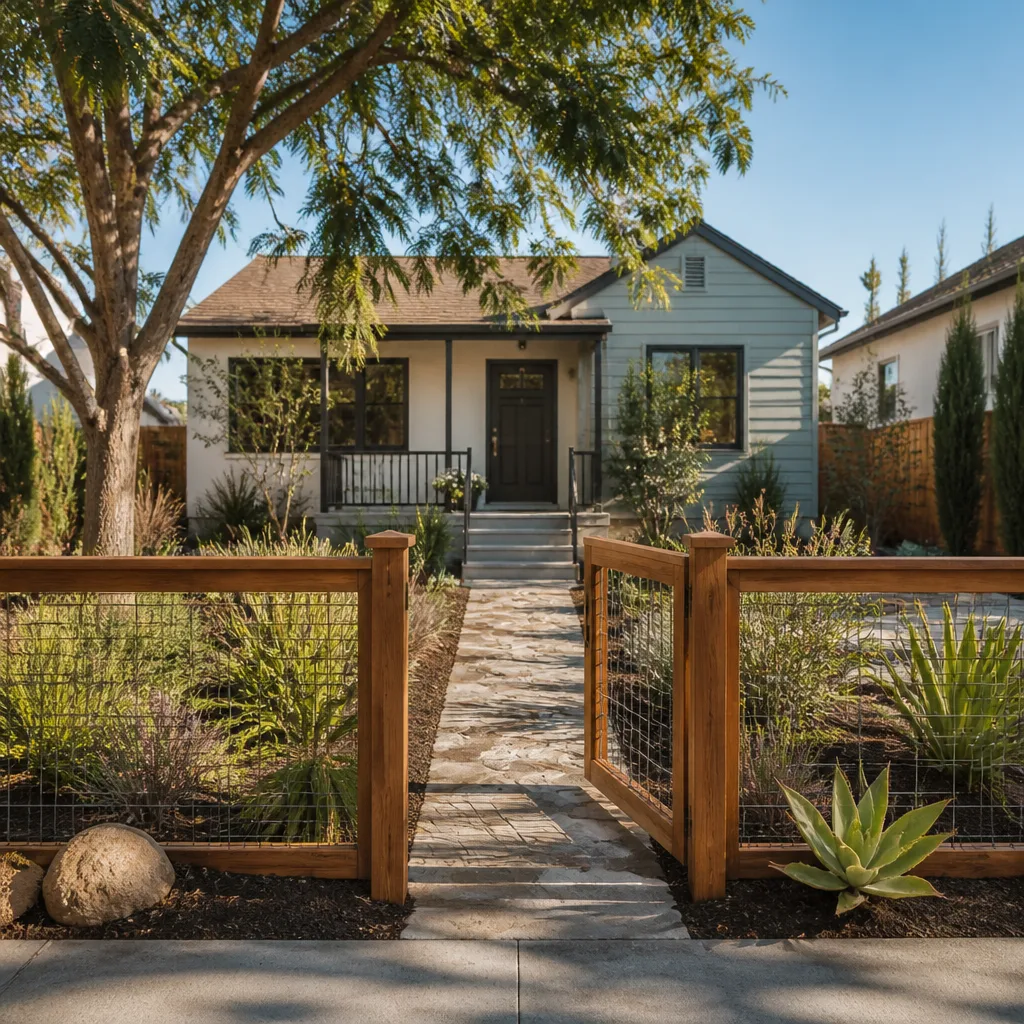
- Driveway expansions, new hardscape that changes drainage or the right-of-way, and fence heights above the local allowance
- Water heater replacement when it involves a change in fuel type, location, or venting
- Pools, spas, retaining walls above a modest height, and detached structures above a small square footage
Work that is usually exempt from a building permit:
- Interior and exterior painting
- Flooring replacement over an existing subfloor
- Cabinet refacing and countertop swaps that don’t touch plumbing or electrical
- Replacing fixtures like-for-like (a faucet, a light fixture, a toilet in the same location)
- Fence repair that doesn’t change height or location
- Landscaping that doesn’t alter grading or drainage toward a neighbor or the street
The exemptions have edges that catch people. A “cosmetic” bathroom refresh becomes a permitted project the moment you move the drain for a new layout or add a dedicated circuit for a heated floor. A driveway & pavers project that looks like decoration can trigger a grading or right-of-way review if it changes how water leaves the property. When you’re unsure, a short call to the city’s building department costs nothing and settles the question in minutes.
How Fire Hazard Zones Shape Your Roofing and Siding Choices
Vallejo sits in a region where fire hazard severity zones matter, and those designations aren’t abstract map lines. They translate into material specifications that affect what you can install on your roof and exterior walls. This is the part of the permit process that surprises out-of-area contractors most, because the rules they know from a neighboring county don’t necessarily match what Vallejo requires on a given parcel.
Under California’s wildland-urban interface framework, parcels are classified into fire hazard severity zones, and local jurisdictions adopt those classifications into their building and fire codes. What that means in practical terms:
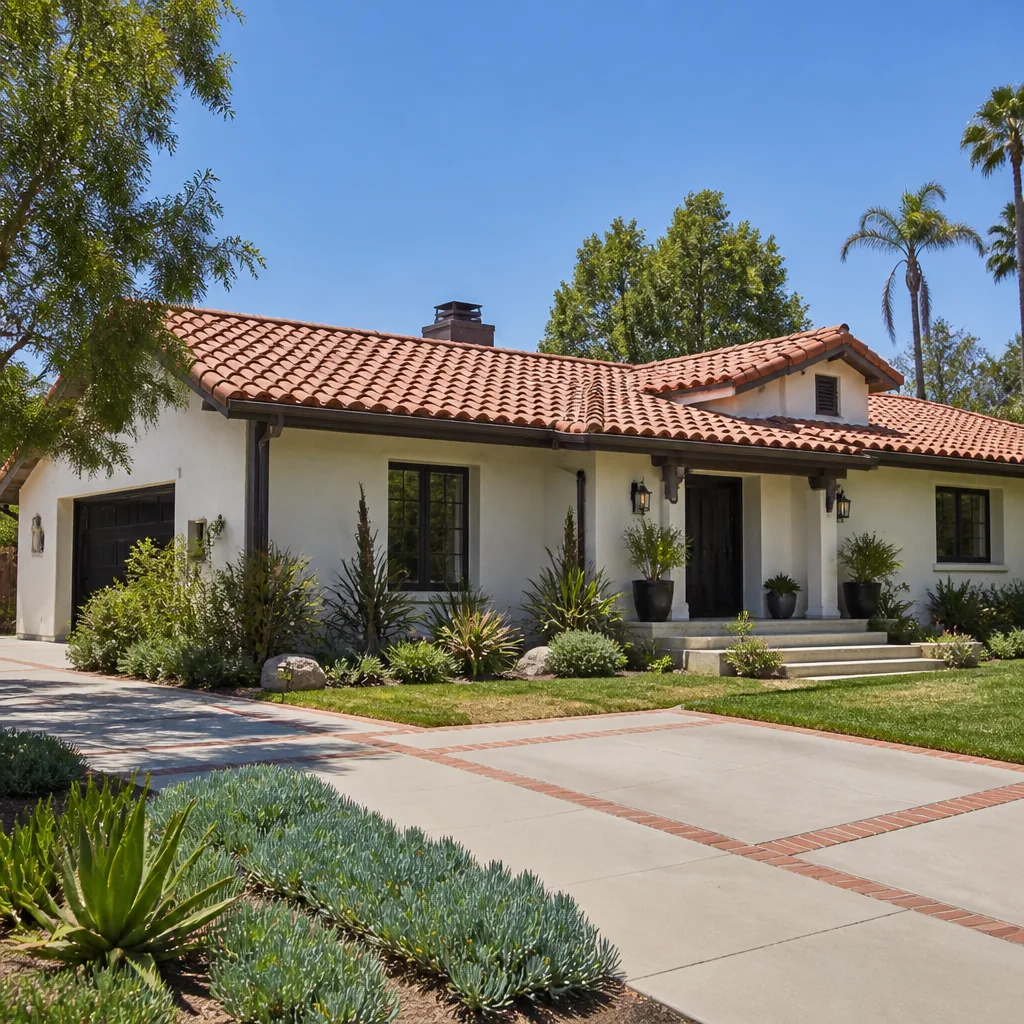
- Roofing: In designated zones, roof coverings typically need a Class A fire rating, and some products that would be acceptable elsewhere get ruled out. This narrows the field considerably, and it’s why we specify systems from manufacturers like GAF, CertainTeed, and Owens Corning who publish clear fire ratings for their assemblies.
- Exterior siding and cladding: Materials that resist ignition are favored, and ventilated or non-combustible assemblies may be required on certain walls.
- Decking and attachments: Deck boards and the undersides of projections sometimes fall under the same rules, which is easy to miss when you’re focused on the house itself.
- Eaves and vents: Ember-resistant venting and enclosed eaves come up in higher-hazard designations.
Here’s the practical consequence homeowners don’t expect: the fire zone can override a design preference. You may love a certain roofing profile or siding material, and the product simply isn’t allowed on your parcel. The right move is to confirm your zone before you pick materials, not after the order is placed. The city’s building department can tell you the classification for a specific address, and a contractor who works here regularly knows to ask that question early. If a bidder never mentions fire ratings at all, take that as a signal about how carefully the rest of the scope was considered.
ADUs and Additions: The Permit Path That Trips People Up
Accessory dwelling units have become one of the most common projects in Vallejo, and they’re also where permit confusion runs highest. State law has deliberately loosened the rules to encourage ADU construction, but loosened doesn’t mean exempt. An ADU is a permitted project with its own planning review, its own building permits, and a set of inspection stages that mirror a small house because that’s essentially what it is.
What the process generally involves, in order:
- Zoning and site check. Confirm the ADU type (attached, detached, converted) is allowed on the parcel, review setbacks, height limits, and how the unit fits with existing structures. Parking and access considerations come in here.
- Design and plan set. A compliant drawing set covering architectural, structural, electrical, plumbing, and mechanical scope. The quality of this set drives how smooth the rest goes.
- Plan submittal and review. The city reviews for building code, fire, and planning compliance. Incomplete submittals get returned with comments, and each round costs time.
- Permit issuance and construction. Work proceeds through the inspection stages described below.
- Final inspection and closeout. The unit is signed off as habitable, which is the document that matters when you sell or refinance.
Prefab and modular ADUs have become a real option here, and they change the permit rhythm rather than eliminate it. Brands like Abodu, Dvele, Mighty Buildings, and Boxabl handle the factory-built portion, but the site work (foundation, utilities, connections) still requires permits, and the factory documentation has to align with what the city reviews. A modular unit can move faster than a site-built addition, but only if the submittal package is complete from day one. For homeowners weighing the two paths, the permit calendar is often the deciding factor more than the construction method itself.
The Realistic Permit Approval Timeline in Vallejo
Timelines in municipal building departments move, and the honest answer is that no guide can promise you a fixed number of weeks. What we can tell you is how the timeline decomposes and how to plan around it so a slow review doesn’t stall your whole project.
A permit application generally passes through these phases:
- Application intake. Submit forms, plans, and supporting documents. Missing items here delay everything downstream.
- Completeness review. The department checks that the submittal is complete before it enters the queue for actual review.
- Plan check. Reviewers examine the plans for code compliance. Comments come back, you revise, you resubmit, and the cycle repeats until cleared. Simple projects often clear in one round; complex ones rarely do.
- Cross-department review. Depending on scope, planning, fire, and public works may all need to sign off. Each adds its own review period.
- Permit issuance. Fees paid, permit issued, work can begin.
How to plan around it:
- Start the permit conversation weeks before you intend to start work, not days.
- Expect at least one comment round on anything beyond a straight replacement.
- Batch revisions. Resubmitting one fixed item at a time restarts the clock repeatedly.
- Do material selection and fire zone confirmation before submittal, so a design change doesn’t force a re-review.
- Sequence trades during review so the work that doesn’t need the permit (interior finishes in a separate area, for instance) isn’t blocked.
The single biggest variable is submittal quality. A clean plan set with the fire ratings, structural details, and site information already resolved moves faster than a bargain set that gets returned three times. The money saved on cheap drawings is routinely eaten by the extra months of review, and the homeowner feels that delay far more than the contractor does.
What Inspectors Actually Check at Each Stage
Homeowners often assume the inspector is verifying everything was done well. That’s not the job. The inspector confirms that the work as installed meets code at specific stages, and the checklist is narrower and more specific than most people expect. Understanding the stages helps you know what’s happening and when to raise questions.
Typical residential inspection stages:
- Foundation and footing: Checked before concrete is poured, verifying depth, reinforcement, anchors, and form placement against the approved plans.
- Framing: Structural members, connections, and plywood/sheathing verified against the drawings, often alongside rough electrical, plumbing, and mechanical inspection while the walls are open.
- Rough electrical, plumbing, and mechanical: Before covering, checking wiring routing, box placement, pipe sizing, and venting.
- Insulation and energy: Verification that the insulation and glazing meet the energy requirements on the plans.
- Drywall and lath: Confirm the approved backing and screws before the walls close up.
- Final inspection: The completed assembly, including smoke detectors, egress, guards, and that everything matches what was approved.
What inspectors generally do not do:
- Judge finish quality, tile alignment, or paint
- Check things hidden by later work unless the earlier stages were inspected
- Confirm product brand or model, only that the installed performance matches the specification
Missed inspections are the silent problem. If rough electrical is covered before the inspection happens, the inspector can require the walls to reopen so the work can be verified. That’s a cost nobody budgets for, and it’s entirely preventable. A contractor who manages inspections properly schedules them before covering, and keeps the paperwork organized for the final sign-off. Our technicians have up to 15 years of experience coordinating with municipal inspectors, and we know what a plan set needs to survive each phase.
Unpermitted Work, Disclosure Law, and the Cost of Fixing It
California law requires sellers to disclose known material facts about a property, and unpermitted work falls squarely in that bucket. The disclosure obligations sit with the seller, which means an unpermitted addition, a garage conversion, or a converted room can surface as an unpleasant surprise during escrow. When it does, the transaction often stalls while a buyer’s lender, appraiser, or inspector raises objections.
The consequences tend to compound:
- Appraisal and financing risk: Lenders may not count unpermitted square footage toward the appraisal, which can affect the buyer’s loan.
- Negotiation leverage: A buyer who learns about unpermitted work often discounts the offer, and the seller may not have room to argue.
- Stalled closings: A stop-work order or a required correction can delay a sale by months.
- Insurance complications: Insurers can decline claims related to work that was never inspected.
Fixing it retroactively is possible but usually costs more than the original permit would have. The typical remediation process:
- Disclose the work to the city and request to legalize it.
- Document the existing condition. Plans of record showing the work as it stands.
- Inspection of concealed areas. In some cases, walls are opened so inspectors can see the structure and the rough work.
- Correction of non-compliant items. Code compliance is evaluated as of the current code, which can be stricter than when the work was actually done.
- Permit closeout. The legalized work is documented, which resolves the disclosure problem for future sales.
The number to keep in mind isn’t a specific dollar figure (those vary widely by project) but the comparison: the permit for the original work is typically a fraction of what remediation costs, because remediation includes the permit, the inspection exposure, potential corrections, and the time. The permit fee looks very different when you’re calculating it at the closing table years later.
Street-Level Quirks: Infrastructure Overlays and Older Housing Stock
Vallejo’s housing stock includes many homes from the mid-twentieth century and earlier, and some parcels sit inside infrastructure overlay or reuse areas tied to the city’s older industrial and waterfront history. These overlays don’t always change what you can build, but they can change what review your project goes through. That’s the layer most out-of-area contractors miss, because it doesn’t show up in a standard code book.
What this means for a homeowner:
- Property-level confirmations first. Before design begins, confirm whether the parcel touches an overlay, a fire hazard zone, or a specific planning designation. The city can tell you for a given address.
- Older homes and current code. A remodel on a 1950s or 1960s house often pulls in current energy, seismic, and egress requirements even when the original structure didn’t need them. The inspector evaluates the work being permitted, and certain upgrades become unavoidable once walls open.
- Existing non-compliance. When a permit pulls back the walls, previously hidden work sometimes gets noticed. That can turn a straightforward refresh into a larger correction. It’s not a reason to skip the permit; it’s a reason to budget for discoveries.
- Site and drainage reviews. On parcels with older infrastructure, drainage and grading reviews can trigger on additions and hardscape work that would otherwise be straightforward.
Working through a project, we specify the same brand lineup regardless of the classification, but the classification determines which products from that lineup meet the local requirements. That’s why we confirm the zone and overlay status before selection, and then choose material from the correct tier. It keeps the design intact while staying within what the city will approve.
Common Mistakes to Avoid
- Assuming a cosmetic project doesn’t need a permit. The moment plumbing moves, a circuit is added, or a wall comes out, the project generally crosses into permit territory. Confirm before demolition, not after.
- Ordering materials before confirming the fire zone. A product you love may not be approved on your parcel. Check the classification first, then select the roof or exterior materials.
- Choosing a low-cost plan set to save money. Cheap drawings often come back with multiple comment rounds and stretch the permit timeline by months. Submittal quality drives speed.
- Letting rough work get covered before inspection. If rough electrical, plumbing, or framing is hidden before the inspector sees it, walls can be required to reopen. This is one of the most avoidable costs in the entire project.
- Ignoring an existing non-permitted addition until sale time. Unpermitted work doesn’t go away. It resurfaces as a disclosure and can affect appraisals and financing. Legalize it before you list.
- Assuming the inspector verifies finish quality. The inspection confirms code compliance at specific stages. Finish quality is the contractor’s responsibility, which is why vetting the contractor matters more than the permit alone.
- Planning the whole project on a guessed approval date. Build the review and inspection calendar into the schedule as a distinct phase, and sequence trades around it.
See the difference
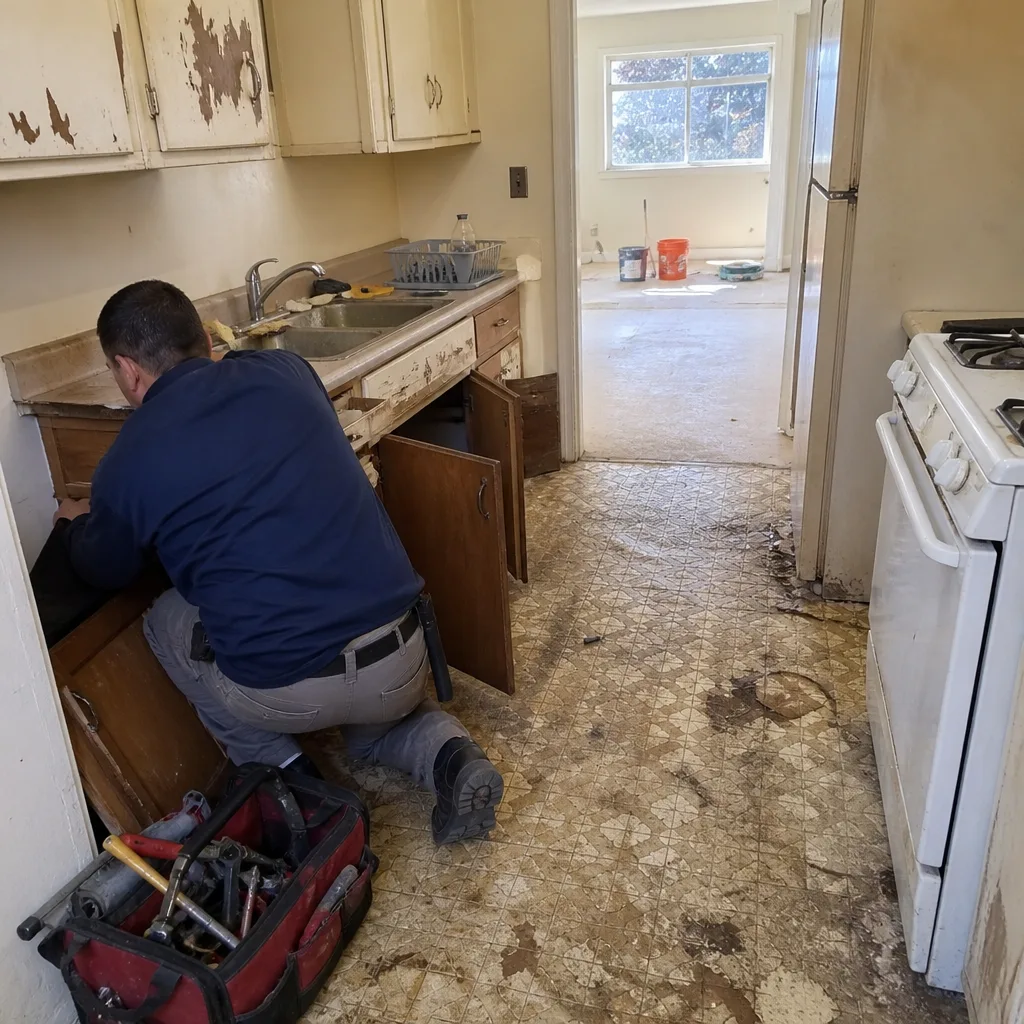 Before
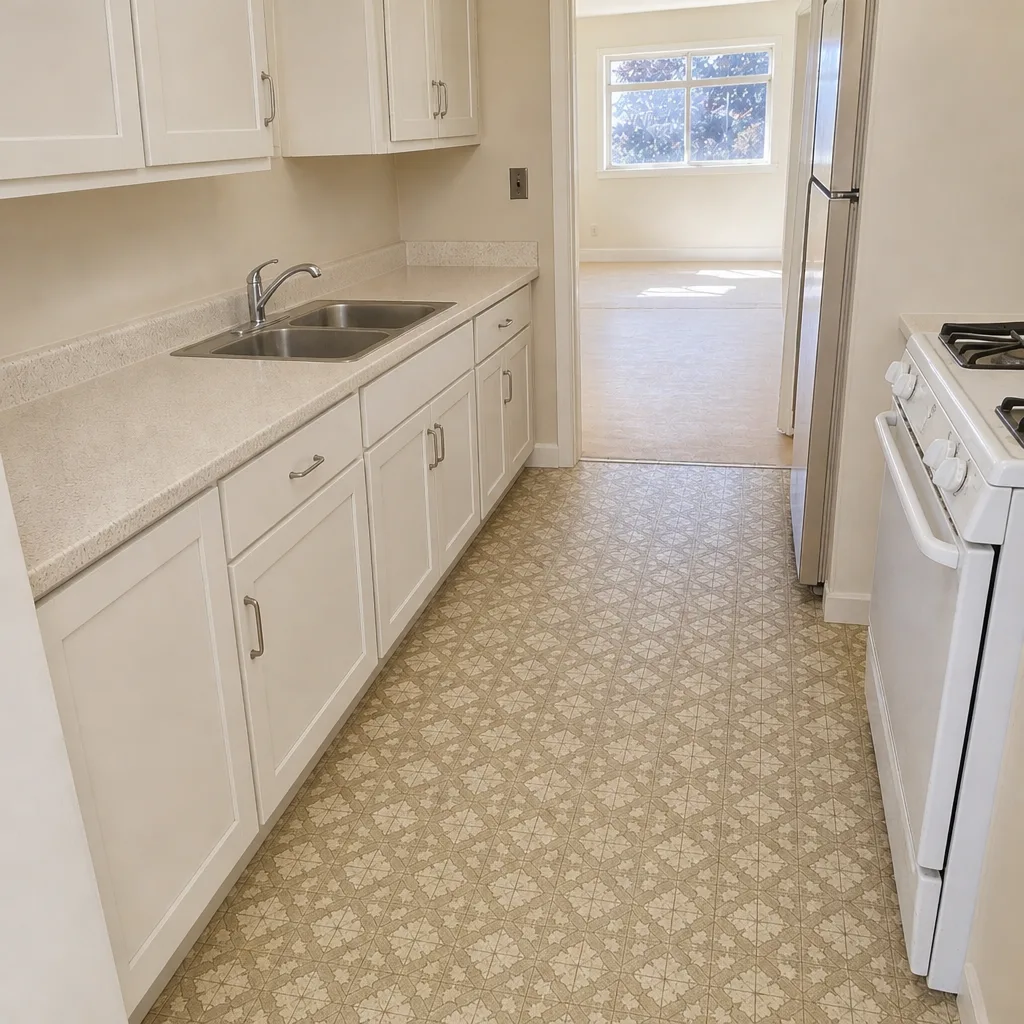 After
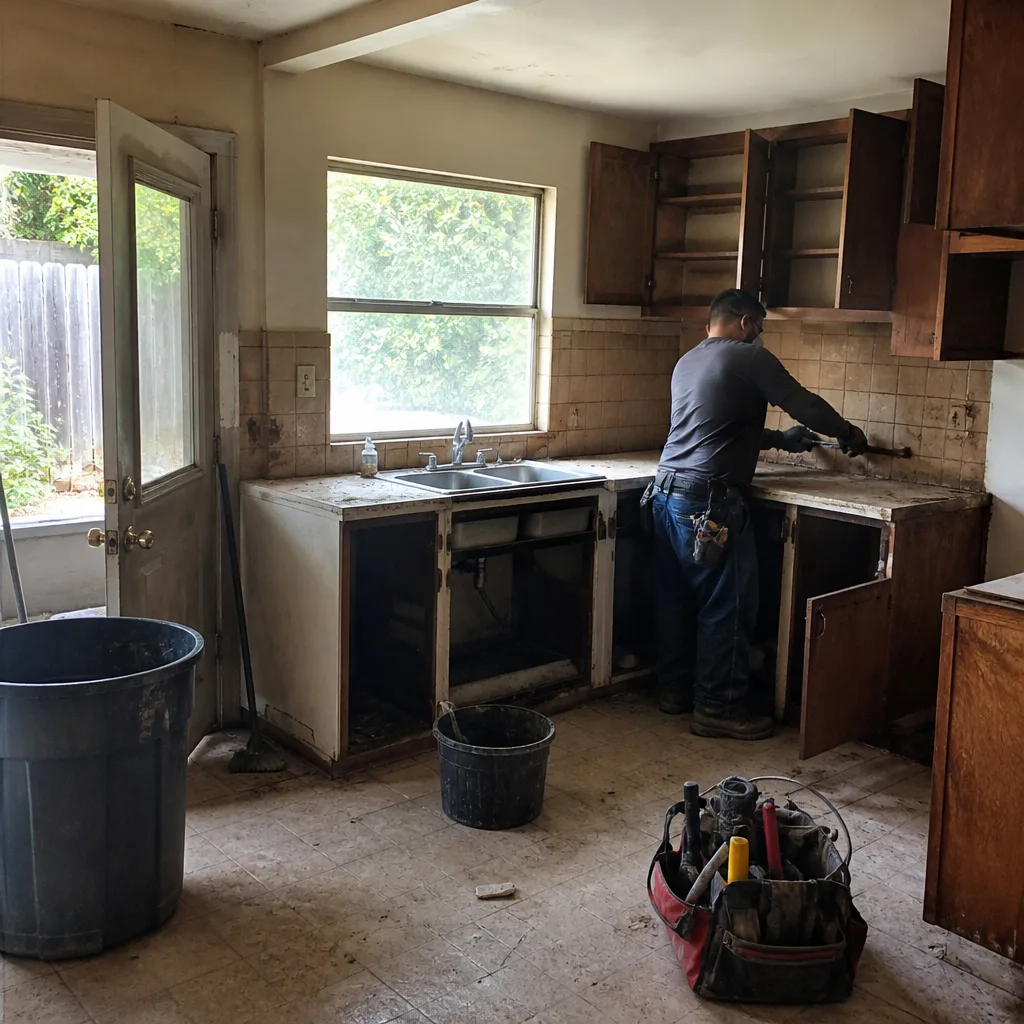 Before
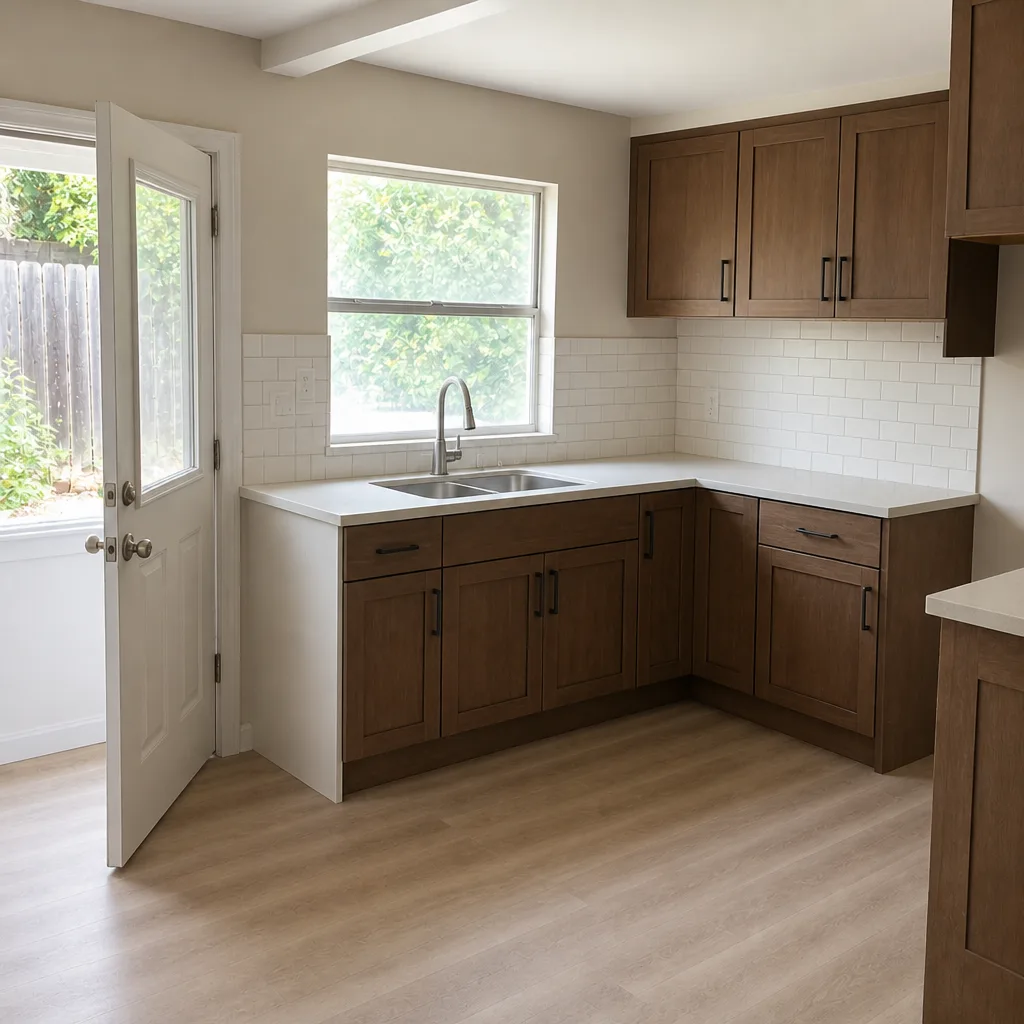 After
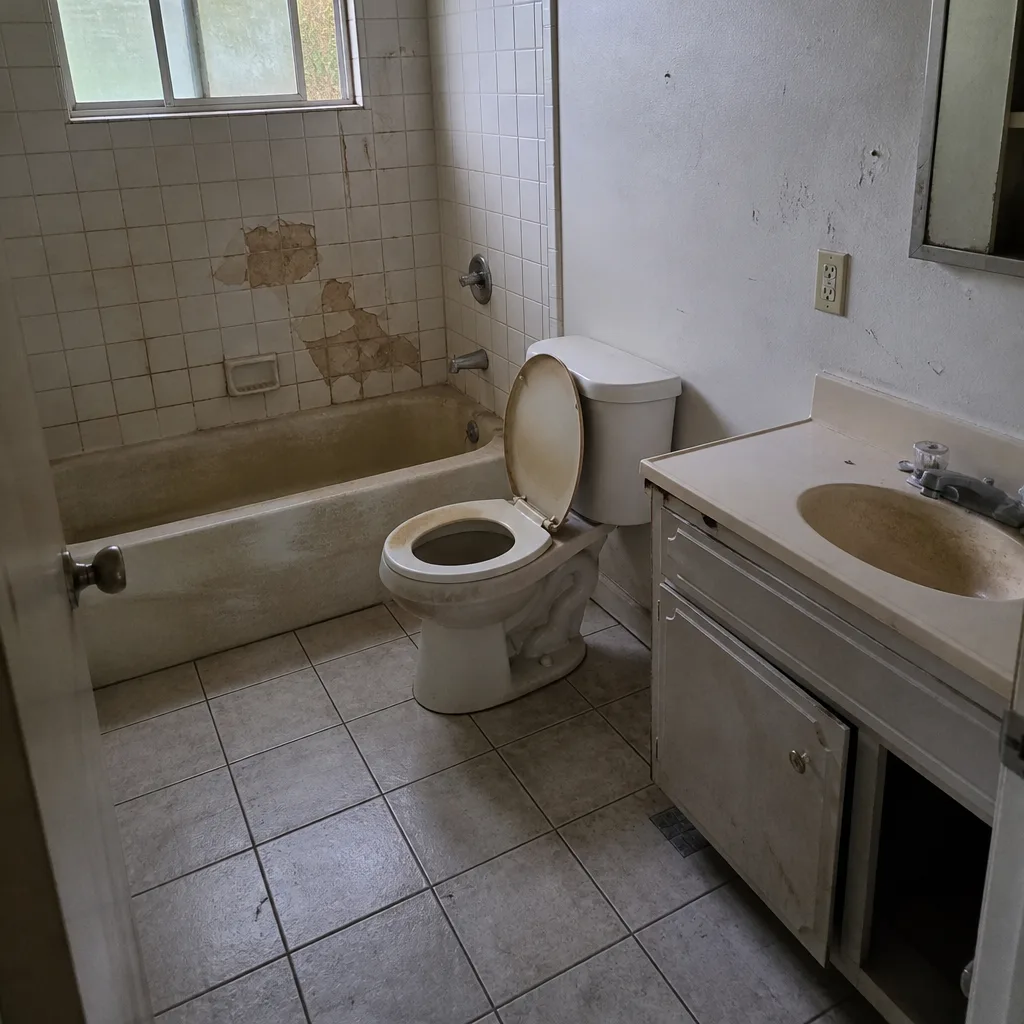 Before
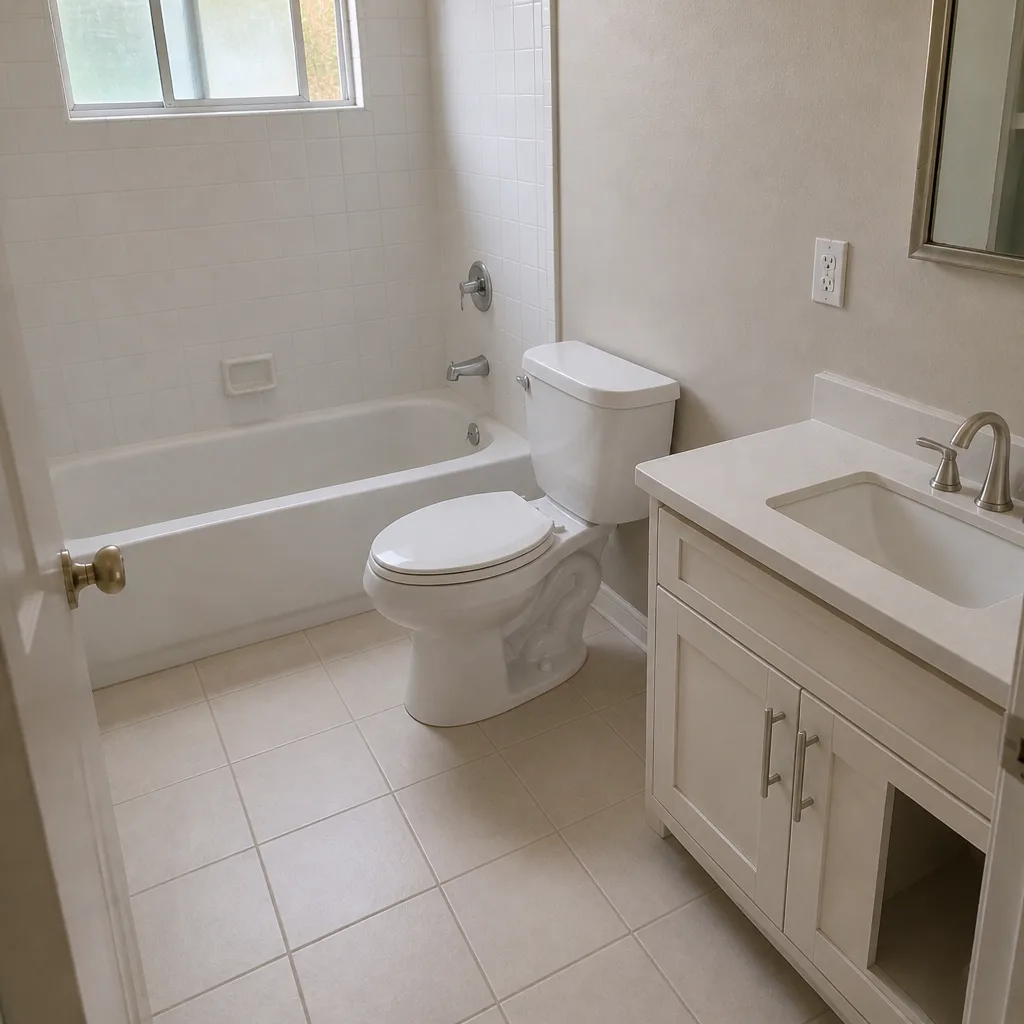 After
When to Call a Professional
Some permit questions are answered best by the building department. Others are answered best by a contractor who has navigated the process before. Call us when your project involves an ADU or addition, a roof replacement where fire zone classification might rule out materials, an electrical panel upgrade, structural changes, a remodel that moves plumbing or walls, or anything with prior unpermitted work attached. We also get called when a homeowner can’t get clarity on whether a project needs a permit at all and doesn’t want to guess. Construction Vallejo offers free estimates in Vallejo and can walk through the permit path and the material choices for your specific scope. Our team works with an extensive lineup of brands across roofing, cabinetry, countertops, fixtures, windows, fencing, and pavers, so the design isn’t limited by what’s available. Call (844) 684-1772 and we’ll help you get the sequence right before the first permit is filed.
Frequently Asked Questions
There’s no fixed number, but most residential projects pass through completeness review, plan check, cross-department review, and issuance, and most go through at least one comment round. Simple re-roofs or panel upgrades typically move faster than additions or ADUs, which involve planning and fire review. Call (844) 684-1772 for an exact scope discussion, and estimates are free.
A full roof replacement generally requires a permit, and the fire hazard severity zone for your parcel can determine what roofing products are allowed. That’s why we confirm the parcel classification before specifying a system from GAF, CertainTeed, or Owens Corning. Call (844) 684-1772 for a free estimate, and we’ll help identify what your zone requires.
California disclosure law requires sellers to disclose known unpermitted work, and it often surfaces during appraisal or lender review, which can affect financing and negotiation. The work can be legalized retroactively, but remediation generally costs more than the original permit would have. Call (844) 684-1772 for a free estimate on what legalizing the work involves.
Yes. An ADU is a permitted project with planning review, building permits, and inspection stages that mirror a small house. Prefab brands like Abodu, Dvele, Mighty Buildings, and Boxabl change the construction rhythm but don’t eliminate the site work permits. Call (844) 684-1772 for a free estimate on your ADU path.
Our estimates are written line-item quotes with fixed pricing and no change orders, so the price doesn’t move during the work. The one exception is a discovery, like hidden non-compliant work found when a wall opens; we document that and talk it through before any change. Call (844) 684-1772 to schedule your free estimate.
Yes. We prepare the submittal, coordinate with the building department, schedule each inspection stage, and manage the paperwork through final sign-off. Permits pulled and inspections passed means the work comes with documentation that holds up at sale or refinance. Call (844) 684-1772 for a free estimate.
The Bottom Line
Permits in Vallejo aren’t the expensive part. The expensive part is what happens when work goes in without them: unpermitted additions, undisclosed changes, and corrections that cost more than the original permit ever would have. The defense is straightforward. Confirm what triggers a permit before you demo, check the fire hazard classification before you pick materials, build plan review and inspection stages into your schedule as real phases, and understand that an inspection confirms code compliance rather than finish quality. The permit file is the record of your home’s improvements. Keep it clean for every project, from a Construction Vallejo full-property scope to a single fence installation, and your future appraisal won’t be the place the work catches up with you. Call (844) 684-1772 to start with a free estimate.
Written by the team at Construction Vallejo.