Last updated November 18, 2026



Free written scope consultation - allowances, timeline, and change-order rules on paper before a single trade is scheduled
Construction Emergency Preparedness Guide for Vallejo Homes
Most homeowners treat emergency preparedness as a shopping list: water, batteries, a flashlight, a radio. That list matters, but it won’t keep rain out of your living room or stop a roof from peeling back in a wind event. The failures that turn a rough storm into a six-month repair project are construction failures – flashing that was never right, drainage that runs toward the house, a cripple wall that was never braced. In our experience around Vallejo, the homes that come through a hard season intact aren’t the ones with the best emergency kit. They’re the ones whose structural and material weak points were closed before the season started. This guide walks through those points, one system at a time, so you know exactly where your house is exposed and what to do about it.
Quick Answer
Construction emergency preparedness in Vallejo means identifying and correcting the specific structural and material vulnerabilities that determine how your home performs during wildfire smoke events, earthquakes, and atmospheric river storms – roof flashing and drainage first, then cripple wall bracing and water heater strapping, then material choices on current and future projects. The work is done before the event, not after. A home with sound flashing, correctly routed drainage, braced framing, and fire-rated or impact-resistant materials handles stress that would seriously damage an unprepared house a block away.
Styles & brands we work with
- Kitchen remodeling
- Bathroom remodeling
- Home additions & ADU
- Roofing
- Windows & doors
- Driveway & pavers
- Fence
Table of Contents
- The Pre-Season Construction Checklist
- Roof Flashing and Drainage: The Rain Damage Predictors
- Earthquake Preparedness From a Construction Standpoint
- Documenting Shutoffs and Access Points
- The First 24-48 Hours After Construction Damage
- How Material Choices Affect Emergency Resilience
- Driveway and Perimeter Conditions That Decide Storm Outcomes
- Common Mistakes to Avoid
The Pre-Season Construction Checklist
Walk your property once, slowly, before the rainy season begins. This isn’t a five-minute glance from the sidewalk. Give it an hour, and bring a notebook or your phone. The point is to find the conditions that will decide whether the next atmospheric river is routine or destructive for your address in Vallejo.
Work through these in order. Each one builds on the last, and skipping the foundation perimeter to jump straight to the roof usually means missing the actual source of water intrusion.
- Roof surface and penetrations. Look at the field of the roof, then every place something interrupts it: vents, chimney, skylights, satellite mounts, the transition where one roof plane meets another. Those interruptions are where water gets in.
- Flashing at walls and valleys. Check the metal or membrane that seals the roof-to-wall junction and the valleys where roof planes meet. Lifted, rusted, or missing flashing is the single most common cause of ceiling stains after a storm.
- Gutters and downspouts. Full gutters back water up under the roof edge. Downspouts that discharge within a couple of feet of the foundation dump the entire roof’s runoff right where you least want it.
- Drainage routing. Follow the water’s path from every downspout and every low spot in the yard. If it runs toward the house, you’ve found your problem before the storm finds it for you.
- Foundation perimeter. Look for soil that has settled away from the stem wall, cracks in the visible foundation, and any sign of previous waterline staining. Those tell you where water has been before.
- Driveway and hardscape edges. Check where the driveway meets the garage and where pavers meet soil. Separated joints and eroded edges channel water under the slab instead of away from it.
- Trees and overhangs. Limbs over the roof are a wind event waiting to become a roofing repair. Note anything close enough to strike the house.
None of this requires special tools. It requires knowing what you’re looking at, which is the whole reason this guide exists. Our technicians have up to 15 years of experience reading exactly these conditions, and most of what we find on a first inspection is visible to any careful homeowner who knows the sequence.
Roof Flashing and Drainage: The Rain Damage Predictors
After a heavy rain event, the emergency calls we hear about in Vallejo cluster around three things: water intrusion at ceilings and walls, roof damage, and driveway washout. Almost every one of those traces back to a pre-storm condition nobody checked. Flashing that had been lifting for two years. A downspout discharging into a planting bed against the wall. A driveway that had been pitching toward the garage since it was poured.
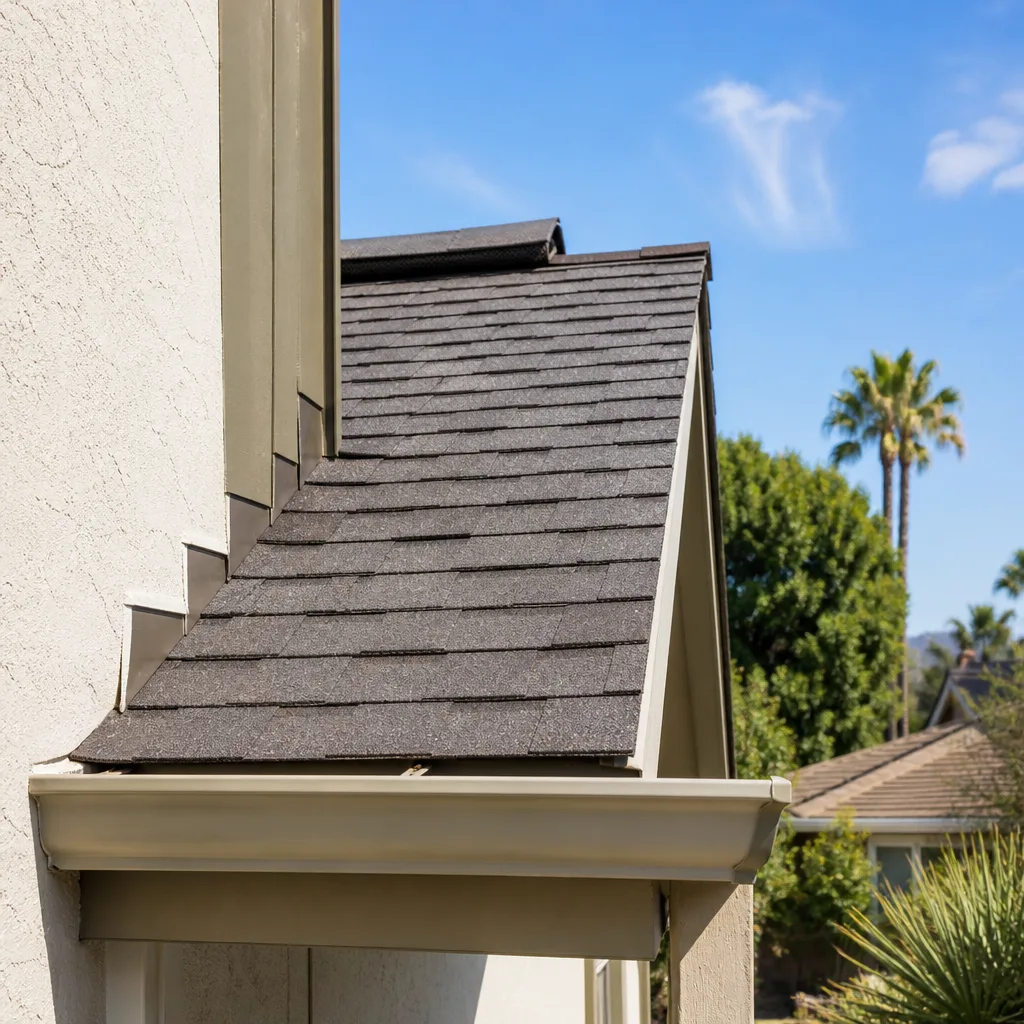
Here’s the pattern worth understanding. Roof shingles shed water, but they aren’t the waterproof layer – the underlayment beneath them is, and flashing is what protects the edges where water concentrates. A roof can look perfectly fine from the street and still leak at the first hard storm because a single piece of step flashing at a sidewall has pulled loose. When wind-driven rain hits that wall, water goes behind the siding and into the framing. By the time you see the stain inside, it’s been happening for a while.
What decides whether a storm is routine or damaging
- Flashing integrity at every wall and valley. Intact flashing directs water back to the roof surface. Compromised flashing directs it into the assembly.
- Gutter capacity and slope. Undersized or sagging gutters overflow at the fascia, which is exactly where water gets behind the roof edge.
- Downspout discharge distance. Water should leave the foundation area, not pool beside it.
- Yard grading. Soil should slope away from the house on all sides. Settled soil that slopes back toward the stem wall is a slow-motion water intrusion problem.
- Drainage inlets and swales. If your lot routes water through a swale or to a drain, keep it clear. A blocked swale turns a mild storm into a flooded yard.
If any of this sounds like your house, the fix is construction work, not caulk. Correcting flashing and re-routing drainage is roofing and site work, and it belongs with a contractor who understands how those systems meet. When we specify roofing systems, we’re working with manufacturers like GAF, CertainTeed, and Owens Corning, and the flashing details are as much a part of the specification as the shingles are. For a full property review, a single-source contractor can look at the roof, the gutters, the grading, and the hardscape together – which is the only way to see how water actually moves across your lot. That’s the kind of scope Construction Vallejo handles as one relationship rather than a handoff between trades.
Earthquake Preparedness From a Construction Standpoint
Most earthquake advice stops at “secure your bookshelves.” That’s fine as far as it goes, but it doesn’t address the failure that actually makes a house uninhabitable. In older Vallejo homes, the construction details that create real vulnerability are specific and, once you know them, fairly easy to identify.
The biggest one is the cripple wall – the short framed wall between the foundation and the first floor in a house with a raised floor. If that wall isn’t braced with plywood shear panels and anchored to the foundation below and the floor above, lateral shaking can rack it out of plumb. When a cripple wall fails, the house shifts on its foundation, and that’s an entirely different scale of repair than a cracked chimney.
The second is the water heater. An unstrapped tank can tip in a significant quake, and once it goes, you’ve got a gas connection and a water line compromised at the same moment – a fire risk and a flood risk in the same event. Strapping the tank to the wall studs with proper metal straps is a small, cheap job that removes a serious hazard.
The construction details that create vulnerability in older Vallejo homes
- Unbraced cripple walls. Common in older raised-floor construction. Bracing with shear panels and adding foundation anchor bolts is the correction.
- Missing or inadequate foundation anchorage. A house that isn’t bolted to its foundation can slide off it.
- Unstrapped water heaters. Both a fire and a flood hazard in one event.
- Chimneys without bracing. Masonry chimneys are heavy and tall. They need lateral support in seismic zones.
- Heavy tile roofs on older framing. Weight matters. If a roof was re-covered with heavy material without an engineering review, that’s worth investigating.
- Soft-story or open-front configurations. A garage door opening with living space above is a classic weak point if the framing around it isn’t engineered for lateral load.
Seismic retrofitting is real construction work, and it should be permitted and inspected. Most cities require a permit for structural bracing and foundation work, so ask your city’s building department what applies to your project. Don’t treat a retrofit as a weekend project – it involves opening walls, adding structural panels and hardware, and getting the load path right from roof to foundation. That’s work for a licensed contractor, and it’s worth doing properly once.
Documenting Shutoffs and Access Points
When something fails during a storm or after a quake, the first several minutes are about stopping the damage, not fixing it. That means knowing where the gas shutoff, the main water shutoff, and the electrical panel are, and knowing how to operate each one. Most homeowners think they know. A surprising number of emergency calls include the sentence “we couldn’t find the shutoff.”
The fix is a single document, kept where everyone in the household can get to it – printed, in a plastic sleeve, and a photo of it on everyone’s phone. Here’s what belongs in it:
- Main water shutoff location and a photo of it in the off position. Include any secondary shutoffs at fixtures if you’ve had them installed.
- Gas meter and shutoff location, with a photo. Note that a gas shutoff should only be turned back on by the utility or a qualified professional.
- Electrical panel location, with the main breaker clearly labeled. Photograph the panel with every breaker labeled so anyone can find the circuit.
- Roof access point. Where a technician would get onto the roof, and where the safe walking path is.
- Attic access and the location of any equipment up there. Water heaters, HVAC, and shutoffs get forgotten when they’re overhead.
- A short list of the home’s material specifications. Roofing brand and product, siding material, window brand, what kind of plumbing supply lines you have.
- Emergency contact order. Utility, insurer, contractor – in that order for most events.
Here’s the part most people miss: every construction project should update this document. If you replace your roof, the roof material spec changes. If you remodel a bathroom and move or add shutoffs, the shutoff map changes. When we complete a project, we make sure the homeowner has the current material and shutoff information, because a document that’s three renovations out of date is worse than no document at all. For a bathroom project specifically, knowledge of the new valve locations and the waterproofing system matters later – we work with Schluter waterproofing and fixtures from brands like American Standard and Toto, and each of those has specifics the homeowner should have on file.
The First 24-48 Hours After Construction Damage
The first day and a half after storm or quake damage is when you either contain the problem or let it compound. The goal isn’t to repair anything. It’s to prevent secondary damage while insurance and contractor timelines play out – and those timelines are measured in days to weeks, not hours.
The most important principle: temporary protection is about stopping water and securing openings, not about restoring anything to normal. A tarp on a damaged roof isn’t a roof. It’s a stopgap that keeps the ceiling from coming down while the real repair gets scheduled. Doing it right protects the interior, the possessions, and the insurability of the claim.
Day one
- Stop the water and power if needed. Shut off the water at the main if there’s active leaking. If water is near electrical fixtures or the panel, shut off power at the main breaker and don’t enter standing water.
- Document everything before you touch it. Photograph and video every affected area, including the source, the spread, and the contents. Insurers want the condition as found, not as cleaned up.
- Get temporary protection on any opening. Tarp a damaged roof area, board a broken window, cover a compromised wall. This is emergency work, and it’s worth having a contractor handle it so it’s done safely.
- Move water-damaged contents out and start drying. Wet drywall and insulation need to come out or dry fast. Mold can start within a couple of days in a closed-up house.
Day two
- Call your insurer and open the claim. Have your documentation ready.
- Get a contractor assessment. A written scope of what failed and why is what the insurer needs, and it tells you whether the damage is cosmetic or structural.
- Decide on temporary versus permanent. Some temporary measures will need to stand for weeks, so make sure they’re properly secured, not just tacked up.
- Keep a running log of every conversation and every expense. This matters when the claim is settled.
Safety first, every time. Roof work, electrical work, and anything involving gas are the three places where a homeowner doing it themselves can get seriously hurt. If a tarp needs to go on a steep roof, that’s a trained-professional job. If the panel is wet, don’t touch it. Get a professional out and stay out of the way.
How Material Choices Affect Emergency Resilience
Every material decision on a current or planned project is also an emergency-preparedness decision, whether or not that’s why you’re making it. Three categories do the most work in Vallejo’s conditions: roofing, siding, and driveway surface.
Fire-rated roofing. Wildfire smoke events are a real seasonal concern here, and while smoke itself doesn’t ignite a roof, embers from a nearby fire can. Class A fire-rated roofing assemblies – which many GAF, CertainTeed, and Owens Corning systems are designed to meet – resist ember ignition far better than untreated wood shakes. If you’re re-roofing anyway, specifying a fire-rated assembly costs very little extra and closes a real vulnerability. Ask your contractor what fire rating the proposed assembly carries.
Impact-resistant siding. Wind-driven debris is what damages siding in a storm, and impact-resistant products handle it better than standard vinyl. In a quake, exterior cladding takes hits too. This is a place where choosing the right product on a planned project means the house is more resilient without any additional work later.
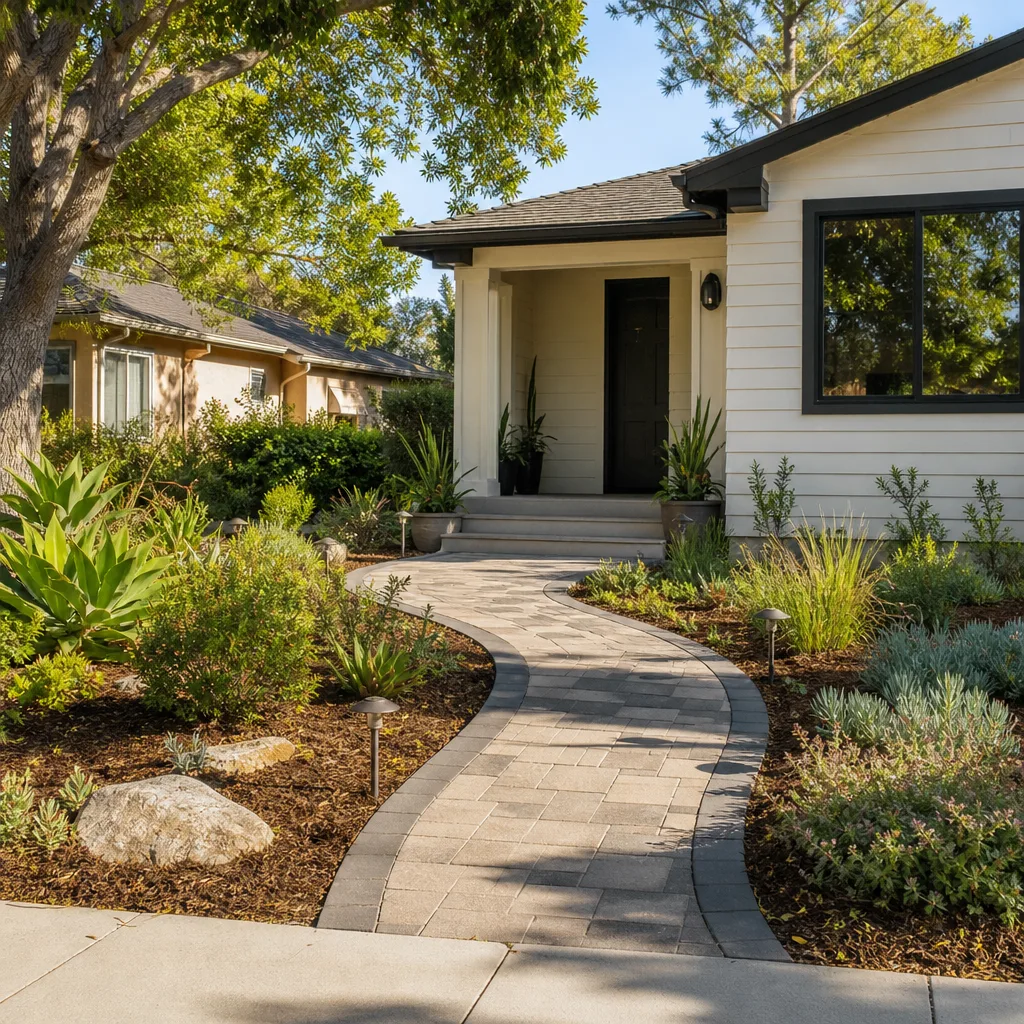
Permeable driveway surfaces. A driveway that sheds water toward the house is a flood risk during an atmospheric river. Permeable pavers let water infiltrate rather than run, which reduces the load on your drainage and keeps water out of the garage. This is a real design decision, not a style preference. When we specify hardscape, we’re working from pavers by Belgard, Unilock, Techo-Bloc, Tremron, and Cambridge Pavers, and permeability is one of the criteria that separates one product from another. You can read more about how we approach driveway & pavers as a water-management system, not just a surface.
On windows, impact-resistant glass isn’t just about storms. It’s a security and noise decision too, and on a planned window replacement it’s worth pricing. The same idea applies to fence installation: a fence that’s properly anchored and built from a material suited to the exposure holds up in wind, while a poorly anchored one becomes airborne debris. If you’re adding living space, an home additions & ADU project gives you the chance to build in resilience from the foundation up – seismic bracing, fire-rated materials, drainage – rather than retrofitting it later.
Driveway and Perimeter Conditions That Decide Storm Outcomes
We’ve seen the same pattern after every significant rain: homes on the same block, same storm, wildly different outcomes. The difference is almost always the perimeter – the way water is managed at grade around the house. The driveway is a big part of that, because it’s a large impervious surface with a fixed direction of fall.
The perimeter conditions worth checking
- Slope at the garage-door threshold. The apron should pitch away from the door. If it has settled and pitches in, water enters the garage first and the house second.
- Joints between pavers or slab sections. Open joints let water get under the surface, where it can undermine the base and create settlement that makes the problem worse over time.
- Edges where hardscape meets soil. Erosion at the edge is a sign water is running along the joint instead of off the surface.
- Foundation perimeter grading. Soil should slope away on all four sides. A low spot against the wall becomes a puddle against the foundation.
- Downspout discharge points. They should send water to a drainage path, not into the soil beside the house.
- Drain inlets and swales. Clear them before the season, and check them after each storm.
- Retaining walls. A wall holding back saturated soil is under real load. Look for bulging, leaning, or weep holes that are blocked.
If your driveway perimeter is the weak link, this is genuinely fixable construction work, and it’s better done before the season that tests it. Repitching the apron, regrading the perimeter, and replacing a failing section of hardscape is a project, not a patch. When your current driveway is beyond repair, the replacement is the chance to get the drainage right from scratch, with a paver system designed to move water where it belongs.
Common Mistakes to Avoid
- Treating preparedness as a supplies list. Batteries and bottled water won’t stop water intrusion. The structural and drainage conditions are what determine the outcome, and they’re what get ignored.
- Waiting for the first storm to check the roof. By the time the leak shows up, the damage is done and you’re booking emergency work along with everyone else. Check flashing and gutters before the season, not during it.
- Letting a downspout discharge against the foundation. This is the most avoidable water intrusion cause there is. Extend the discharge away from the house and keep it clear.
- Skipping cripple wall bracing because it’s out of sight. The framing you can’t see is the framing that decides whether an older Vallejo house stays on its foundation. It’s worth a professional look.
- Not keeping shutoff documentation current. A shutoff map that’s outdated after a remodel is worse than none. Update it every project.
- Doing temporary repairs unsafely. Roof tarps, electrical, and gas are not DIY territory. A fall from a roof or a gas leak turns a damage event into a tragedy.
- Choosing materials on looks alone. Fire rating, impact resistance, and permeability are real performance criteria. On a project you’re doing anyway, they cost little to add and a lot to skip.
See the difference
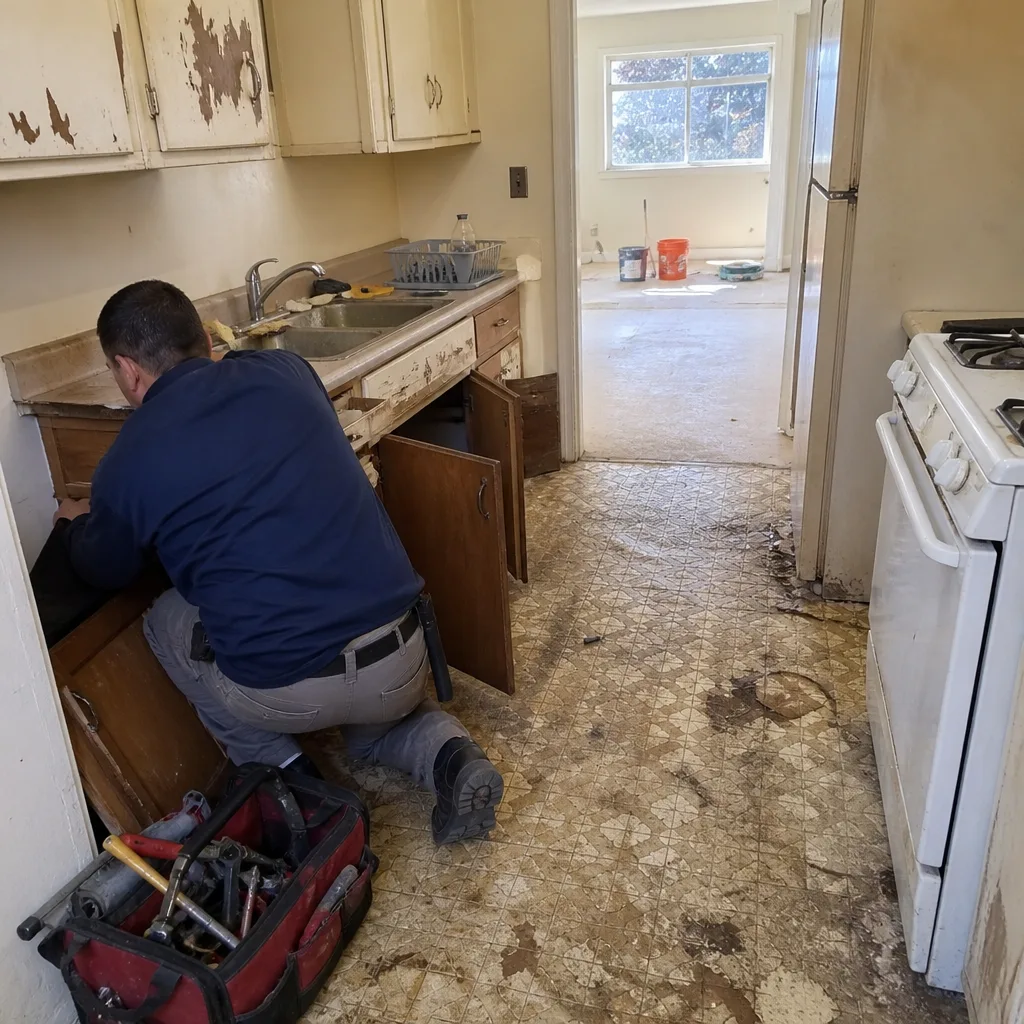 Before
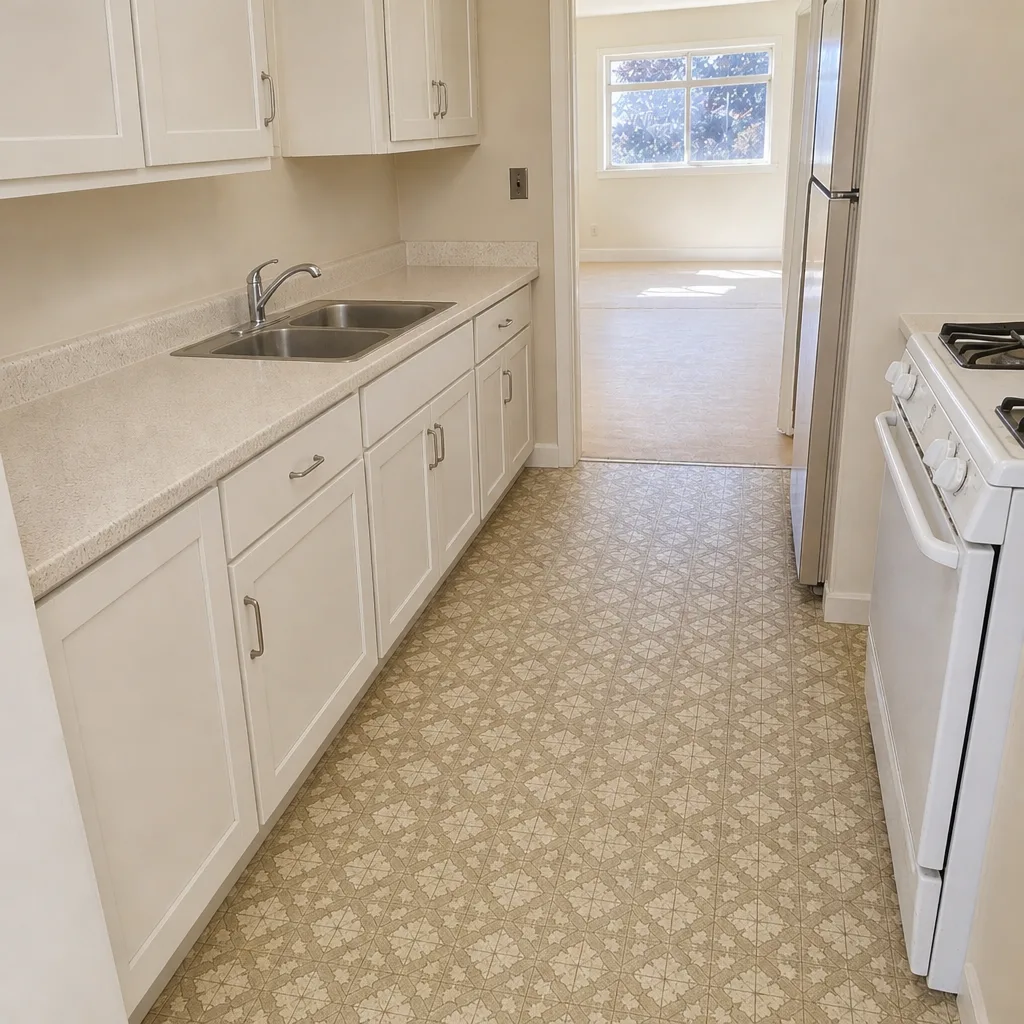 After
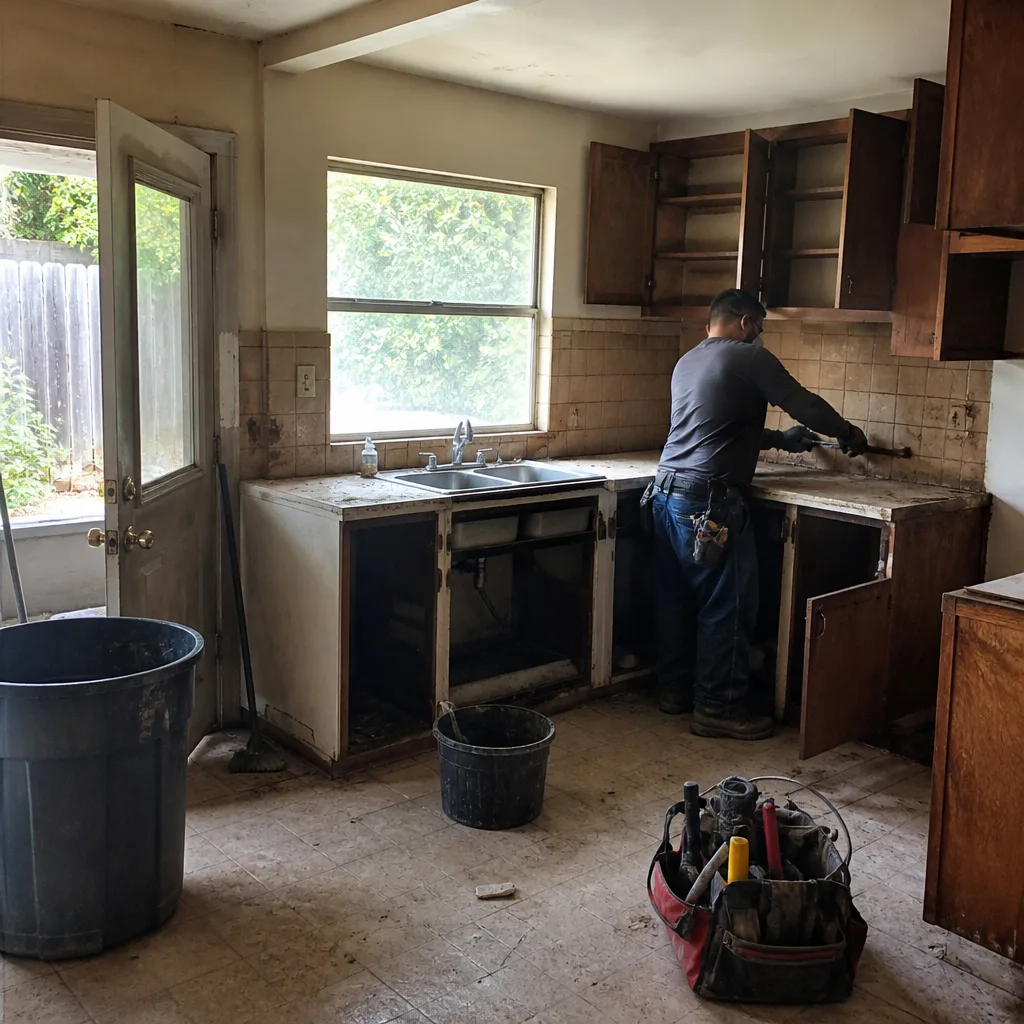 Before
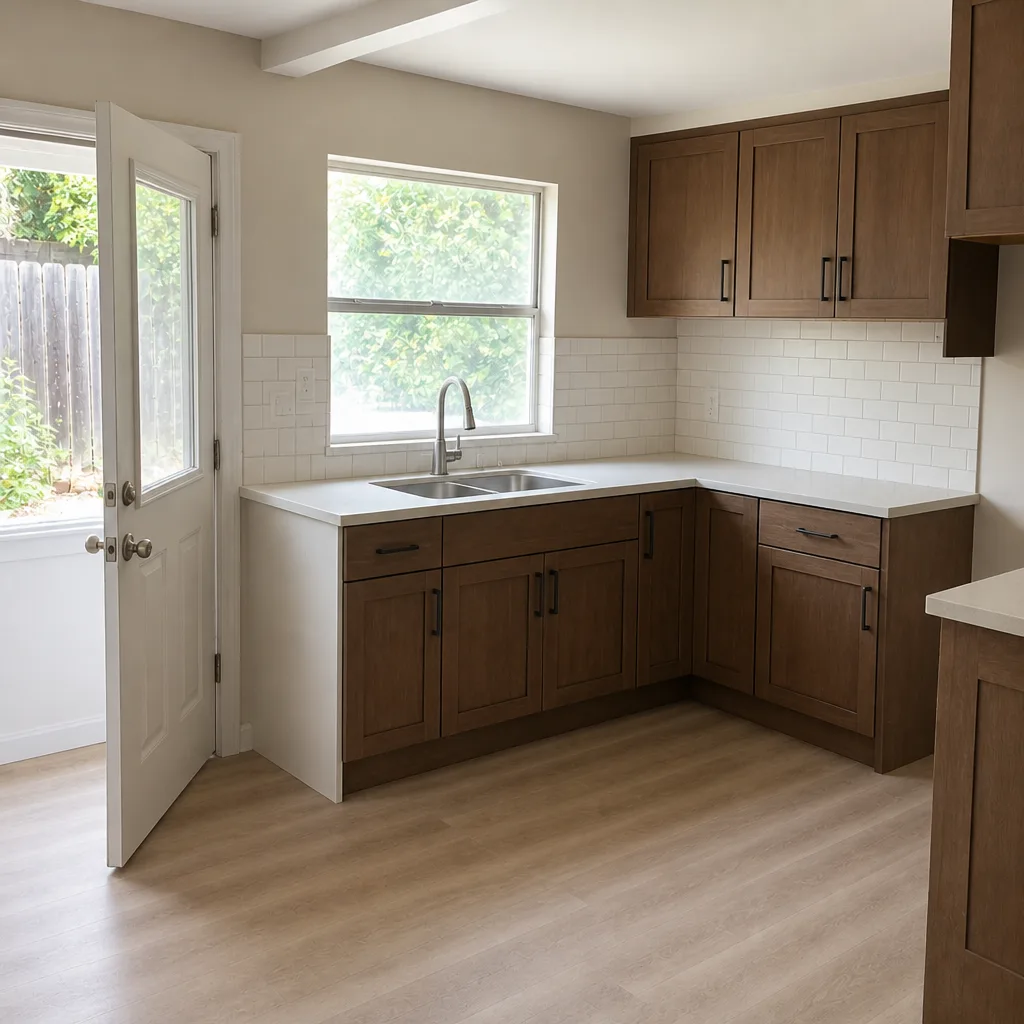 After
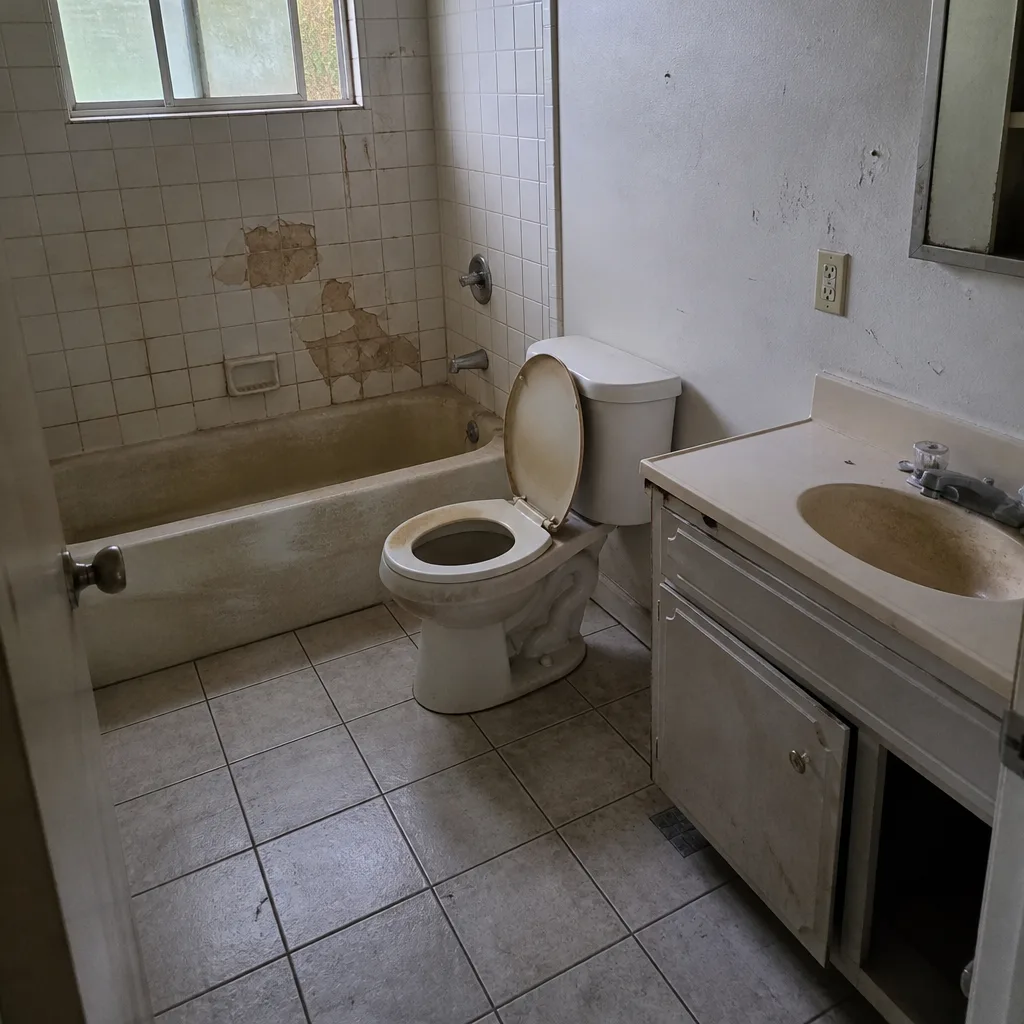 Before
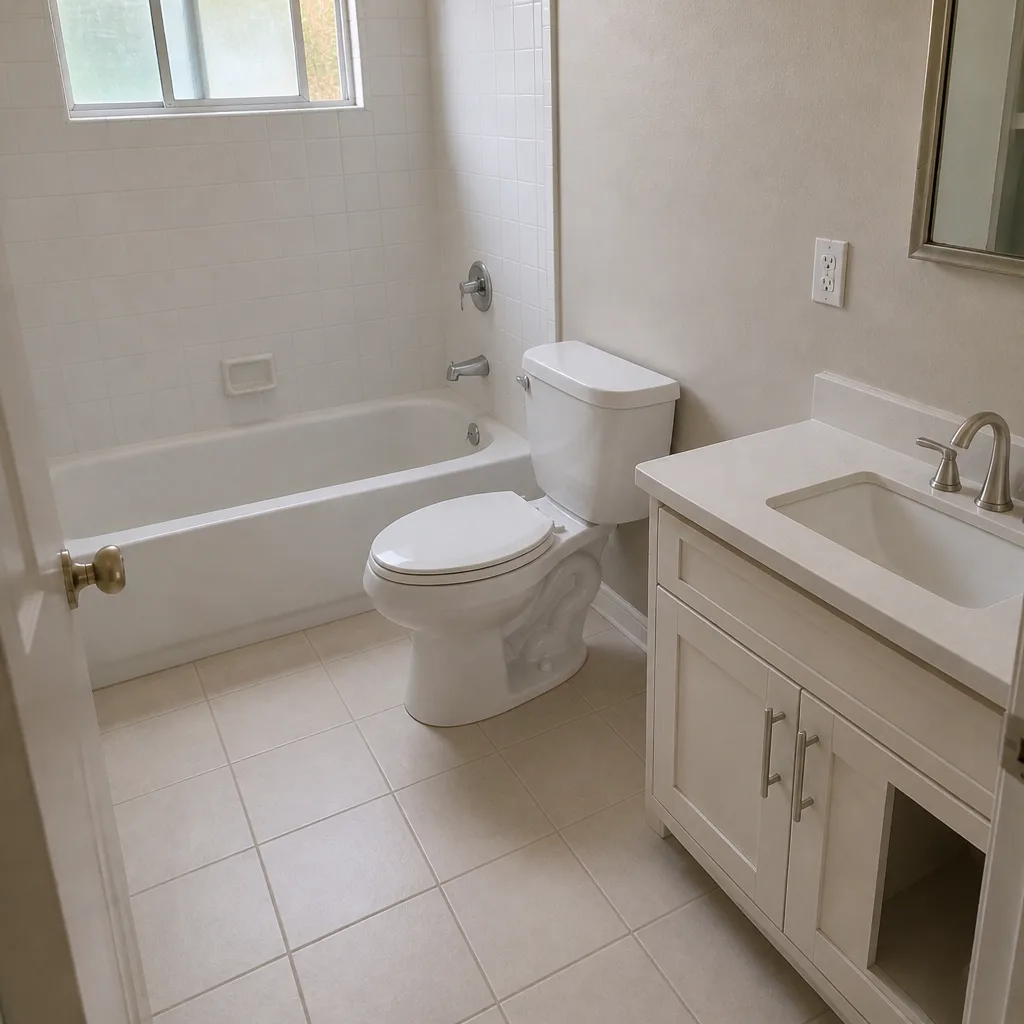 After
When to Call a Professional
Some items on this list you can check yourself. Others need a trained eye and a licensed hand. Call a professional when the issue involves the roof surface or flashing, any structural bracing or foundation work, electrical or gas, or water that’s already entering the building envelope. Also call when you’re planning a project – a re-roof, a window replacement, a driveway replacement, or a remodel – and you want the resilience decisions built in from the start rather than retrofitted later. A contractor reviewing your property in the dry season will find the weak points while they’re still cheap to correct.
Construction Vallejo offers free estimates in Vallejo – call (844) 684-1772. We answer 24/7. Fast dispatch from 7am to 7pm, Sunday through Friday. We work across seven core service lines, from roofing and windows to kitchen, bath, additions, fencing, and hardscape, so a single review can cover the whole property instead of one system at a time.
Frequently Asked Questions
Check roof flashing at every wall and valley, clean the gutters and confirm downspouts discharge away from the foundation, verify soil slopes away from the house on all sides, and look for settled or separated joints where the driveway meets the garage. Those four items cover most of what turns a storm into a repair project. If any of them look wrong, get an assessment before the rain starts – call (844) 684-1772 for a free estimate.
Cost depends entirely on the scope, which is why we don’t quote from the phone. Temporary protection, water extraction, drywall replacement, and roofing repair are each priced per job, and the written estimate sets the final price with no change orders once the scope is agreed. Call (844) 684-1772 for a free estimate – we’ll assess the damage and give you a written scope you can hand to your insurer.
If your home is a raised-floor house with an unbraced cripple wall, or if you can see that the framing isn’t bolted to the foundation, it likely needs seismic retrofitting. An unstrapped water heater is also a clear sign the home hasn’t been updated. A contractor can inspect the framing and foundation and tell you specifically what’s needed. Most cities require a permit for structural bracing, so ask your building department what applies. Call (844) 684-1772 to schedule an inspection.
Shut off water and power if there’s active leaking or water near electrical fixtures, photograph everything before you move it, get temporary protection on any opening, and start drying out wet materials. Then call your insurer and a contractor. Don’t climb onto a wet roof yourself – temporary roof protection is a trained-professional job. Call (844) 684-1772. We answer 24/7.
Yes, and both are worth specifying on a project you’re already planning. Fire-rated roofing assemblies resist ember ignition during nearby wildfire events, and impact-resistant siding handles wind-driven debris better than standard vinyl. The added cost on a re-roof or siding project is modest compared to the protection. Ask your contractor what rating the proposed assembly carries. Call (844) 684-1772 to discuss material options for your project.
Permeable pavers let water infiltrate through the surface rather than running across it, which reduces the volume directed toward your foundation and garage during heavy rain. On a driveway that currently pitches toward the house, a properly designed permeable system can correct the drainage as part of the replacement. We specify pavers from manufacturers like Belgard and Unilock and design the base and grading around how water actually moves. Call (844) 684-1772 for a free estimate.
The Bottom Line
Emergency preparedness in construction comes down to knowing your home’s specific failure points before the season that tests them. Check the roof flashing and drainage first, then the perimeter grading and the driveway, then the structural items – cripple wall bracing and water heater strapping – that older Vallejo homes most often need. Keep your shutoff documentation current and update it after every project. And when you’re planning work anyway, specify materials that perform under stress: fire-rated roofing, impact-resistant siding, permeable hardscape. The homes that come through a hard season intact are the ones where these decisions were made in advance. Get the assessment done in the dry season, while the fixes are simple.
Call (844) 684-1772 for a free estimate on any of the work in this guide. We answer 24/7. Fast dispatch from 7am to 7pm, Sunday through Friday.
Written by the team at Construction Vallejo.