Last updated November 18, 2026




Free written scope consultation - allowances, timeline, and change-order rules on paper before a single trade is scheduled
Seasonal Construction Care for Vallejo: Year-Round Homeowner’s Guide
Most seasonal maintenance calendars are written for somewhere else. They assume a hard freeze in winter or a bone-dry summer with no moisture at all, and neither matches what actually happens here. Vallejo sits in a climatic edge zone: fog and bay moisture push in from the west, dry heat builds from the east, and the rainy season tends to arrive all at once rather than easing in. That combination stresses exterior materials in ways a coastal guide or an inland guide won’t prepare you for. This guide sequences the right tasks to the right window, so Vallejo conditions work for your home instead of against it.
Quick Answer
The core of seasonal construction care in Vallejo is timing, not frequency. Do your exterior caulking, gutter clearing, and driveway crack sealing in the dry fall window before the first significant rain, monitor drainage and perimeter moisture through winter, run a sequenced exterior inspection in spring before any cosmetic repair, and address UV and heat damage to sealers, paint, and roofing in summer. Get those four windows right and most of the expensive damage simply never starts.
Styles & brands we work with
- Kitchen remodeling
- Bathroom remodeling
- Home additions & ADU
- Roofing
- Windows & doors
- Driveway & pavers
- Fence
Table of Contents
- Why Vallejo’s Climate Doesn’t Fit a Standard Maintenance Calendar
- Fall: The Sealing Window Before the Rain Arrives
- How Vallejo’s Summer Fog Treats Roofing and Exterior Wood
- Winter: What to Watch During Heavy Rain
- Spring: The Right Inspection Sequence After the Rains
- Summer: Heat, UV, and Material Degradation
- A Material-by-Material Seasonal Reference
- A Year-at-a-Glance Maintenance Schedule
Why Vallejo’s Climate Doesn’t Fit a Standard Maintenance Calendar
Vallejo’s weather is a conversation between two systems. From the west, bay moisture and fog roll in and sit against surfaces for hours at a time. From the east, dry heat builds through the summer and pulls moisture back out fast. The result is a home exterior that cycles between damp and dry far more often than the annual-average rainfall figure suggests. Materials expand, contract, absorb, and release over and over, and every one of those cycles works a seal or a joint a little looser.
That matters for how you schedule work. A sealant that cures beautifully in July heat can skin over before it bonds if you apply it in the wrong conditions. A driveway crack sealed in damp weather will fail from the inside. A gutter that’s clean in June can be loaded with the season’s first leaf drop by the time the rain starts. In a climate like this, the calendar you follow matters as much as the work you do.
The three local conditions that drive most exterior wear:
- Intermittent fog and damp mornings. Surfaces stay wet longer into the day than in dry-inland climates, which keeps wood and paint at higher moisture content.
- An abrupt rainy season. Rain tends to arrive in force rather than ramp up, so the gap between “dry enough to seal” and “too wet to seal” is narrow.
- Strong summer heat and UV. East-side heat drives thermal cycling on roofing and pavers and breaks down sealers and paint films faster than moderate climates do.
If your projects extend beyond maintenance into replacement or additions, the same timing logic applies at a bigger scale. It’s one reason we sequence exterior scopes around the dry window and interior scopes around any time of year – see what full-scope work looks like through Construction Vallejo.
Fall: The Sealing Window Before the Rain Arrives
Fall is the highest-value window on the Vallejo maintenance calendar, and it’s the one homeowners most often miss. There’s a stretch, before the first significant rain, when the air is dry enough for sealants and crack filler to bond properly and the ground is still workable. That’s your window for anything that keeps water out. Miss it and you’re not skipping the work, you’re just doing it in worse conditions, or patching the damage it was meant to prevent.
What to do, in order
- Clear the gutters and downspouts. Do this first so everything downstream drains. Confirm water actually exits at the bottom of each downspout rather than pooling at the foundation.
- Inspect and replace exterior caulk. Walk the whole envelope: window and door frames, corner joints, penetrations, and the transition where siding meets trim. Any caulk that’s cracked, pulled away, or chalky gets cut out and redone while it’s dry.
- Seal driveway and pavement cracks. Clean the crack, let it dry fully, and fill. A sealed crack in fall stays sealed; one filled in a wet February morning usually doesn’t.
- Check paver joints and re-sand if needed. Polymeric sand that’s washed or blown out leaves joints open to water and weeds. Refill and settle joints before rain.
- Look at drainage away from the house. Confirm soil slopes away, downspouts extend far enough, and any low spots near the perimeter get addressed.
Why the timing is narrow
Sealants need a dry, reasonably warm surface to adhere. Apply them when a surface is damp or when rain is imminent and they cure poorly, which means they fail early and you redo the job. The fog pattern makes this trickier than the calendar suggests: mornings can be damp even in a dry week, so mid-morning to afternoon is generally the usable part of the day. In our experience, homeowners who do the sealing in this window spend far less time patching water intrusion later in the season than those who wait until the leaks show up.
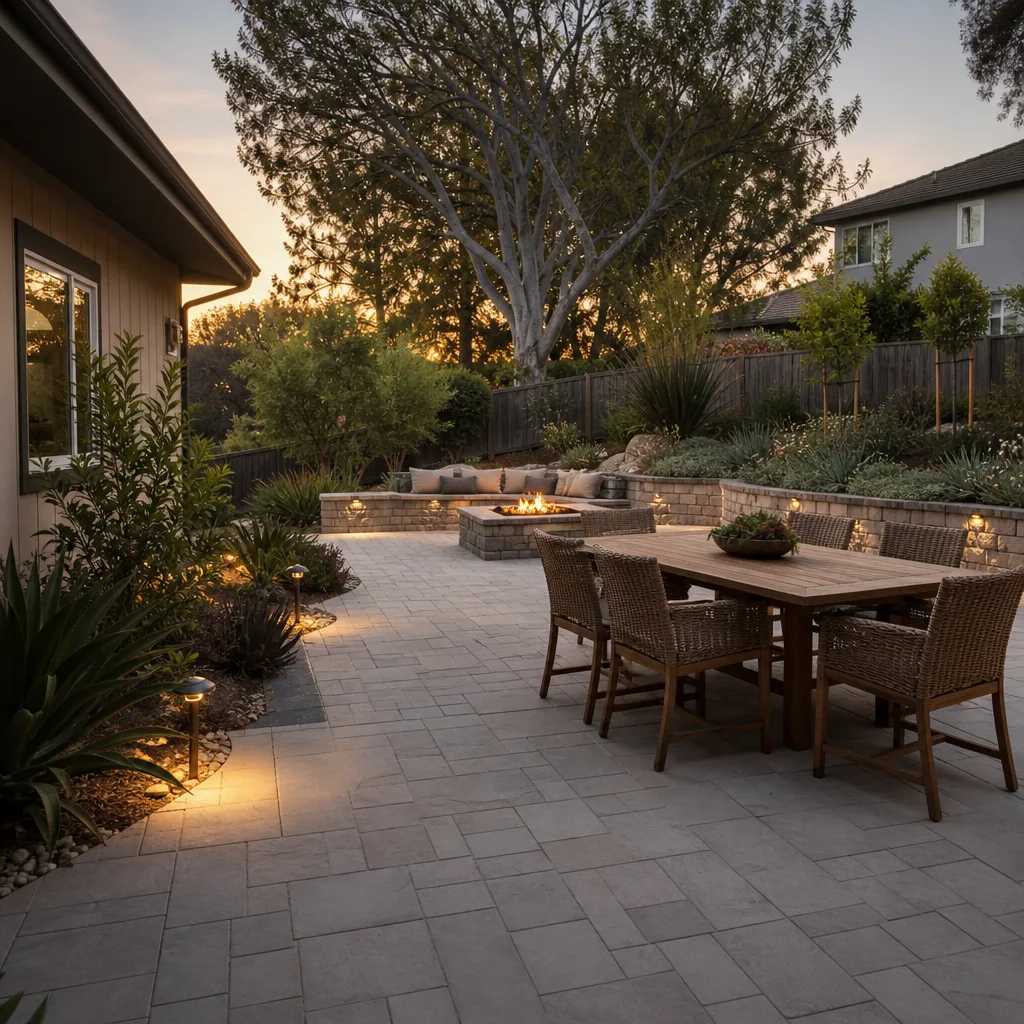
If your driveway is beyond sealing – cracking through, settling, or worn down past the point where a sealer helps – that’s a replacement conversation, and fall is still the right time to plan it. Our driveway & pavers work is scheduled with exactly this weather pattern in mind.
How Vallejo’s Summer Fog Treats Roofing and Exterior Wood
Most California maintenance advice assumes dry heat. Vallejo doesn’t play by that rule. Summer mornings can arrive under a blanket of bay fog that leaves roof surfaces and wood siding damp for hours, then the sun burns through and the same surfaces bake dry by afternoon. That repeated wet-then-dry cycle is harder on materials than either condition alone.
What fog does to roofing
Roofing shingles and underlayment don’t mind moisture that drains away, but they’re vulnerable to moisture that gets trapped. Fog keeps surfaces wet long enough that any small gap, lifted shingle, or failed flashing has time to let water creep in before the sun dries things out. Over a season, that’s how small roofing issues become deck repairs. If you’re evaluating your roof’s condition, look closely at:
- Lifted, curled, or granule-bald shingles, especially on north-facing slopes that dry last.
- Flashing at chimneys, vents, and wall transitions, where slow moisture intrusion starts.
- Moss or dark streaking that signals persistent damp, not just age.
- Gutter attachment points, where trapped debris keeps the roof edge wet.
When a roof system does need replacement, the material choice matters more here than in a uniform climate. We specify roofing from GAF, CertainTeed, and Owens Corning, along with IKO, Atlas, and Tamko, because different product lines handle moisture cycling and UV exposure differently depending on slope, exposure, and ventilation.
What fog does to exterior wood
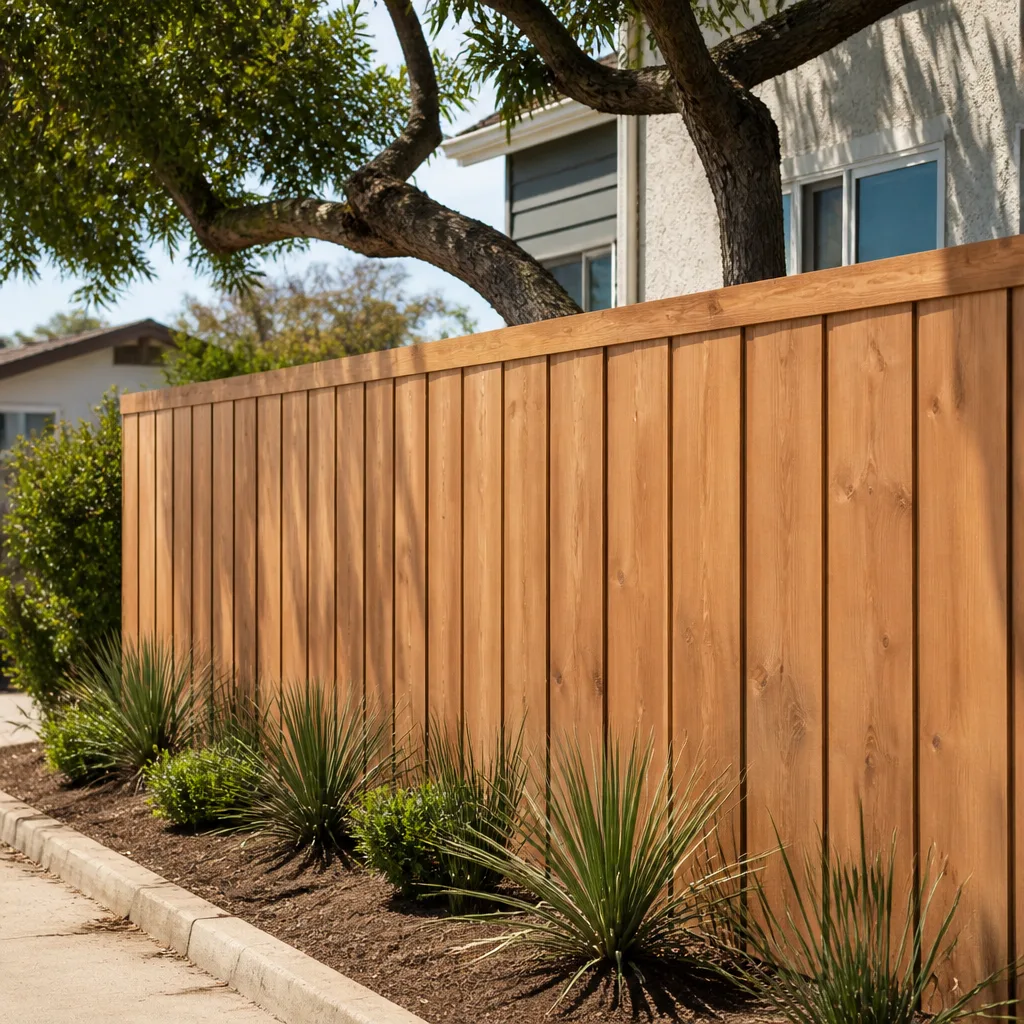
Wood siding, trim, and fence boards absorb moisture on damp mornings and release it in the afternoon heat. That’s normal, but it means the paint or stain film has to flex with the wood constantly. Films that are too rigid crack at the joints first, and once water gets behind the film, it works sideways. Pay attention to south and west-facing wood, which sees the most thermal swing, and to any wood in permanent shade where it never fully dries. Re-coating before the film fails is far simpler than repairing wood that’s already taken on moisture damage. Fence work in particular benefits from a material that tolerates the cycle, and we specify aluminum, vinyl, and ornamental systems from manufacturers like Master Halco, Ameristar, and Barrette for exactly that reason – see fence installation.
Winter: What to Watch During Heavy Rain
Vallejo’s rainy season doesn’t ease in. When it arrives, it arrives in volume, and the stress on your home shifts from slow cycling to sustained water load. Winter isn’t the time to start sealing or painting – surfaces won’t cooperate – but it is the time to watch how water moves around and through your property. Most of what you monitor in winter tells you what to fix in spring.
Three things to monitor
- Downspout routing. Check that every downspout discharges well away from the foundation and onto a surface that drains. A downspout that dumps onto a flat patch of soil next to the house sends water exactly where you don’t want it.
- Paver and hardscape drainage. Watch where water stands during and after a storm. Standing water on pavers means the base or the slope isn’t shedding properly, and that’s a fall or spring repair, not a winter one.
- Foundation perimeter moisture. Look for soil that stays saturated, mulch that’s piled against siding, or low spots that hold water against the house. Persistent perimeter moisture is the root of more interior problems than any single crack.
Interior signs to take seriously
During heavy rain, watch for water staining on ceilings and walls, especially near exterior corners and around windows. Dampness on interior window frames points to an exterior seal or flashing issue, which you’ll want to inspect properly once the weather breaks. Catching these early in the season means the spring repair is a sealing job rather than a water-damage repair. If you do spot active water intrusion you can’t trace, call us at (844) 684-1772. We answer 24/7. Fast dispatch from 7am to 7pm, Sunday through Friday.
Spring: The Right Inspection Sequence After the Rains
Spring is when you find out what winter did. The temptation is to start patching the visible problems immediately, but order matters. If you repair cosmetics before you’ve traced the moisture source, you’ll be repairing the same spot again next year. The sequence below moves from things that drain and shed water to things that seal to things that are purely surface.
The inspection sequence
- Roof and roof drainage first. Inspect the roof surface, flashing, and gutters. Anything that sheds water gets checked before anything below it. This is also the point to confirm gutters are clear after the season.
- Grading and hardscape drainage. Confirm water still moves away from the house and that pavers and driveways shed correctly. Settling or erosion that happened over winter gets addressed before it worsens.
- Exterior seals and penetrations. Re-inspect caulk lines, window and door frames, and any point where something passes through the wall. Note what failed over the winter and schedule re-sealing for the next dry window.
- Siding, paint, and wood. Now the surface inspection: paint failure, wood damage, and anything that needs prep before re-coating.
- Fencing and outbuildings. Check posts for movement, panels for storm damage, and gate hardware for alignment.
- Interior evidence. Walk the interior for any staining or dampness you noticed during the rains, and connect it back to what you found on the exterior.
The reason for this order is simple: cosmetic repairs only hold if the water management underneath them is sound. Repainting a wall that’s taking on water from a failed flashing just hides the problem for a season.
Windows and doors
Spring is also the natural time to assess whether your windows and doors are performing. Foggy glass between panes, drafts, sticking operation, and water staining around frames all show up clearly after a wet season. If you’re evaluating replacement, our home additions & ADU projects often include a window and door scope, and we work with the same brand tiers on standalone replacements. If your spring inspection turns up an opportunity to expand rather than just repair, that’s a conversation worth having before the building season gets busy.
Summer: Heat, UV, and Material Degradation
Summer is when the damage that showed up in fall was actually done. UV and heat cycling break down sealers, paint films, and asphalt binder, and the dry heat from the east side accelerates all of it. Understanding what heat does to specific materials tells you what to schedule and how often.
How three materials age in Vallejo heat
- Asphalt and pavement. Asphalt binder oxidizes under UV and loses flexibility, which is why old asphalt turns gray and cracks. Heat accelerates this. A sealer applied on the right cycle slows it; a sealer applied too often just builds up. Crack sealing in fall and a surface treatment on a sensible interval is the working rhythm.
- Paver sealer. Sealer on pavers protects against UV fade and joint breakdown but degrades under summer sun. If the surface starts looking dull or water stops beading, the sealer is past its useful life. Re-sealing in a dry, moderate window is better than a mid-heat application.
- Painted siding. Paint films chalk and fail fastest on the sun-facing sides. Heat cycling makes the wood underneath move, and a film that can’t flex will crack. Watching for chalking, cracking, and peeling on south and west faces tells you when the next repaint is due.
Scheduling your summer window
Summer is a good time for interior scopes – kitchens, baths – because exterior work in peak heat has its own complications with cure times and material handling. If you’re using the summer for an interior project, that’s a smart use of the season. We handle kitchen and bath work alongside the exterior trades, so one contractor can sequence the whole property. Our Construction Vallejo page covers the full scope if you’re planning more than one project this year.
A Material-by-Material Seasonal Reference
Different surfaces fail at different times of year, and knowing which season each one needs attention keeps you from chasing problems in the wrong window. The table below maps each material to its high-risk season and the task that matters most.
- Roofing system: high risk in summer (UV) and fall-to-winter (moisture). Inspect in spring, seal flashing in fall, address shingle wear before summer heat finishes the job.
- Gutters and downspouts: high risk in fall and winter. Clear in fall, confirm flow through winter.
- Exterior caulk and seals: failure shows in winter, repair in fall. Cut out and redo failed sections in the dry window.
- Driveway and pavement: high risk in summer (UV) and fall (sealing). Crack-seal in fall, re-surface on a sensible cycle.
- Pavers and joints: drainage is the winter concern, sealer is the summer concern. Re-sand fall, re-seal in a moderate window.
- Siding and exterior wood: wet cycling is the winter concern, paint film failure is the summer concern. Inspect spring, re-coat in a dry window.
- Fencing: storm damage in winter, UV fade in summer. Inspect spring, address hardware and finish in fall.
- Windows and doors: seal failure shows in winter and spring. Inspect spring, replace failed units in a dry window.
When a material is being replaced rather than maintained, we specify from brand tiers matched to the exposure and the budget. On hardscape that means pavers from manufacturers like Belgard, Unilock, Techo-Bloc, Tremron, and Cambridge Pavers rather than commodity concrete; on surfaces that see heavy use, the specification matters as much as the installation.
A Year-at-a-Glance Maintenance Schedule
Here’s the whole calendar compressed into one reference. Treat the seasons as windows, not fixed dates, and adjust to what the weather is actually doing in a given year.
- Fall (the priority window). Clear gutters and confirm downspout routing. Cut out and replace failed exterior caulk. Seal driveway and pavement cracks. Re-sand paver joints. Confirm grading drains away from the house.
- Winter (monitor and document). Watch downspout discharge, paver drainage, and foundation perimeter moisture. Note interior stains and dampness. Don’t attempt sealing or painting.
- Spring (inspect in sequence). Roof and roof drainage, then grading and hardscape, then exterior seals, then siding and paint, then fencing and gate hardware, then interior evidence. Schedule repairs from what you find.
- Summer (schedule and address UV). Address failed paint films and degraded sealers. Evaluate roofing wear. Use the season for interior scopes. Plan the fall reseal.
If you want the whole property handled under one relationship rather than coordinating four trades across the year, that’s the model we work on. A single-source contractor who handles driveways, fencing, roofing, windows and doors, kitchen, bath, and additions can sequence the calendar across the whole property at once.
Common Mistakes to Avoid
- Sealing in the wrong weather. Applying caulk or crack filler when surfaces are damp or rain is imminent means it will fail early. Wait for a genuinely dry window; it’s worth the delay.
- Doing cosmetic repairs before tracking the source. Repainting a water-stained wall without finding the flashing or seal failure behind it just hides the problem for one season. Fix the water path first.
- Treating fog as harmless. Vallejo homeowners often assume frequent fog means the house isn’t drying out, so there’s no point in a seasonal repaint. The opposite is true: the wet-dry cycling is exactly why re-coating on schedule matters.
- Ignoring paver drainage because the surface looks fine. Standing water on pavers during winter points to a base or slope issue that gets worse. It’s a fall or spring repair, not something to leave.
- Over-sealing. Applying paver or asphalt sealer too often builds up rather than protecting. Re-seal when water stops beading or the surface dulls, not on a fixed calendar regardless of condition.
- Letting downspouts discharge at the foundation. A downspout that ends right at the house sends every storm onto the perimeter. Extend and route it away.
- Waiting until winter to address exterior seals. When the rain arrives, the sealing window is closed. The work you skip in fall becomes the water intrusion you patch all winter.
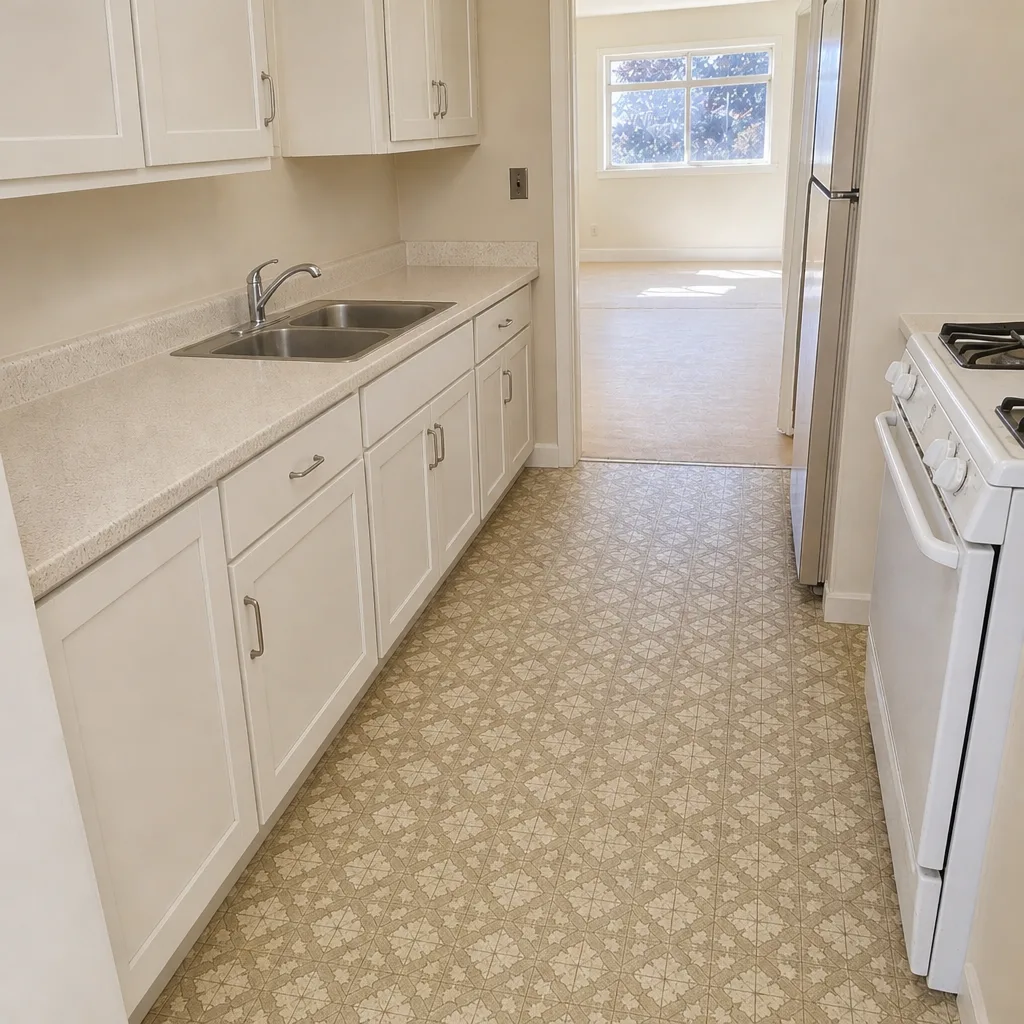
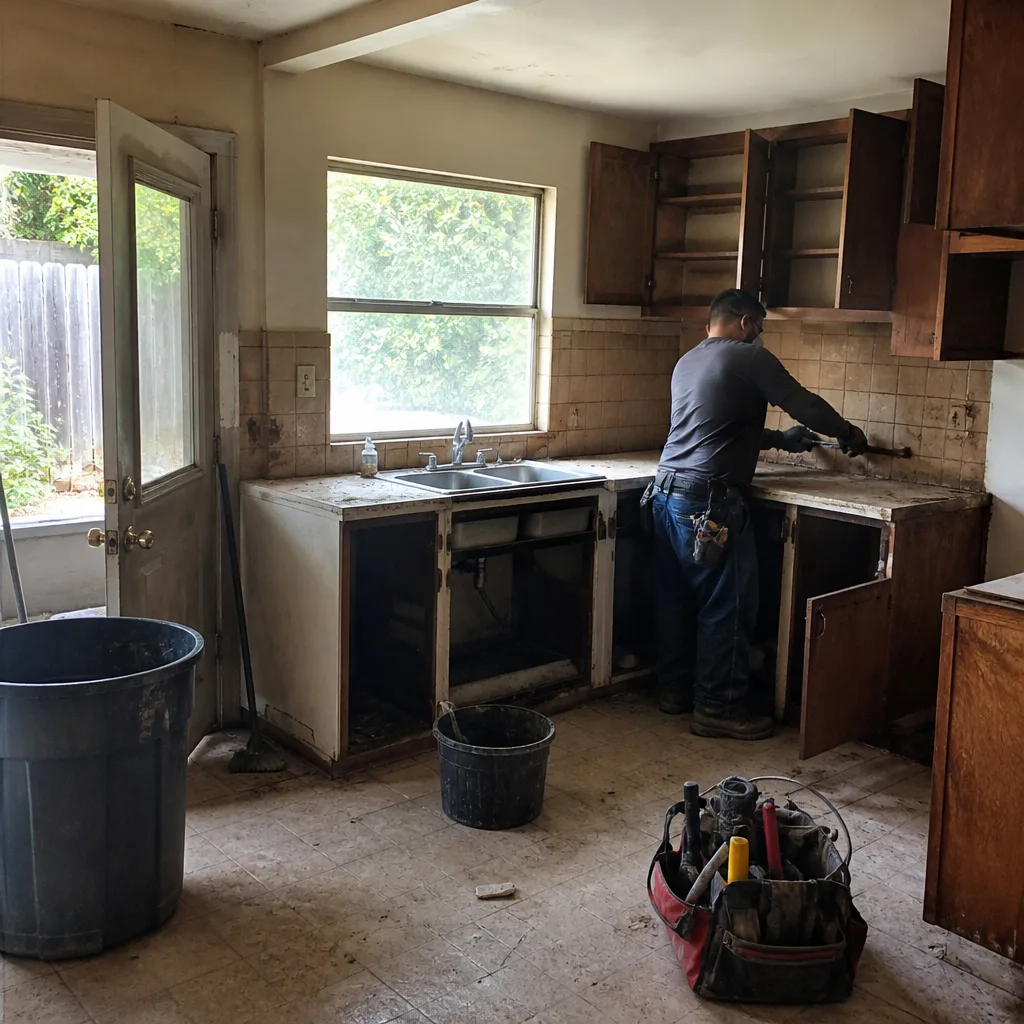
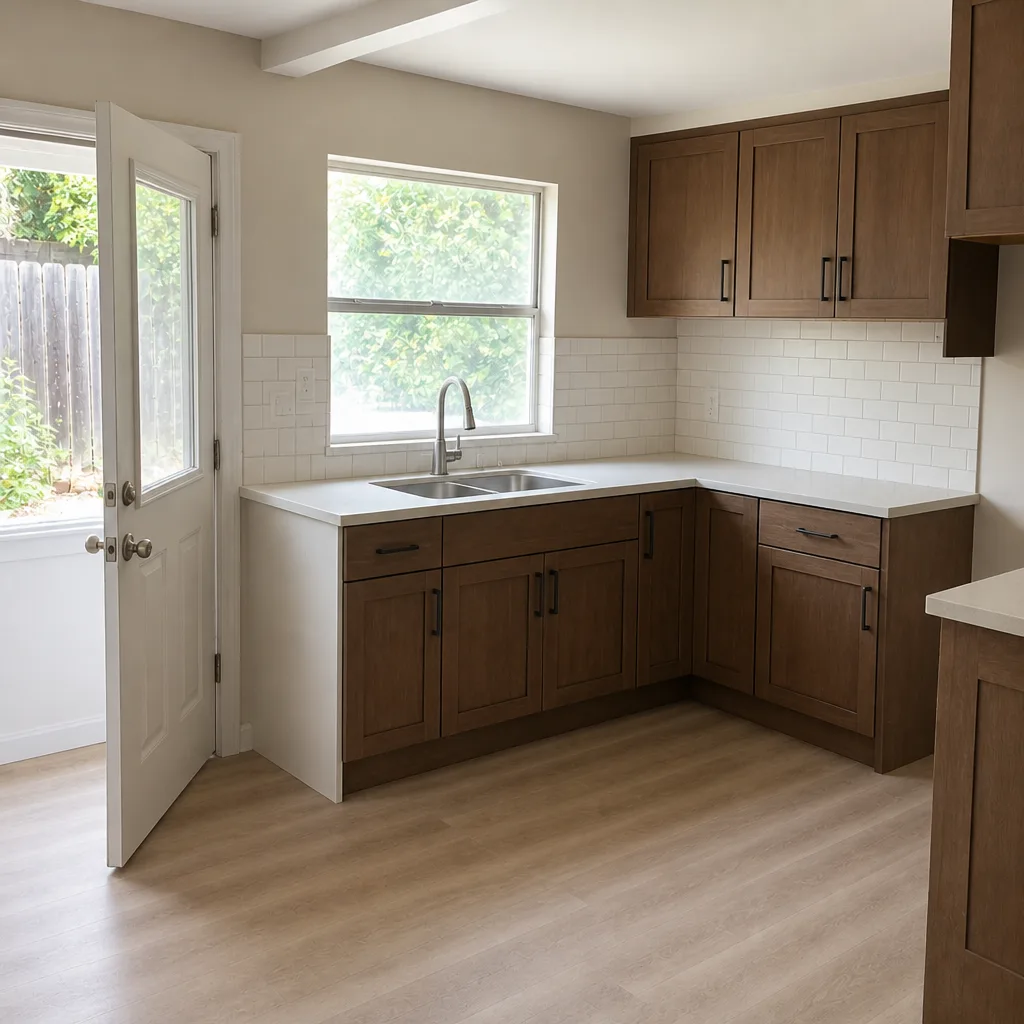
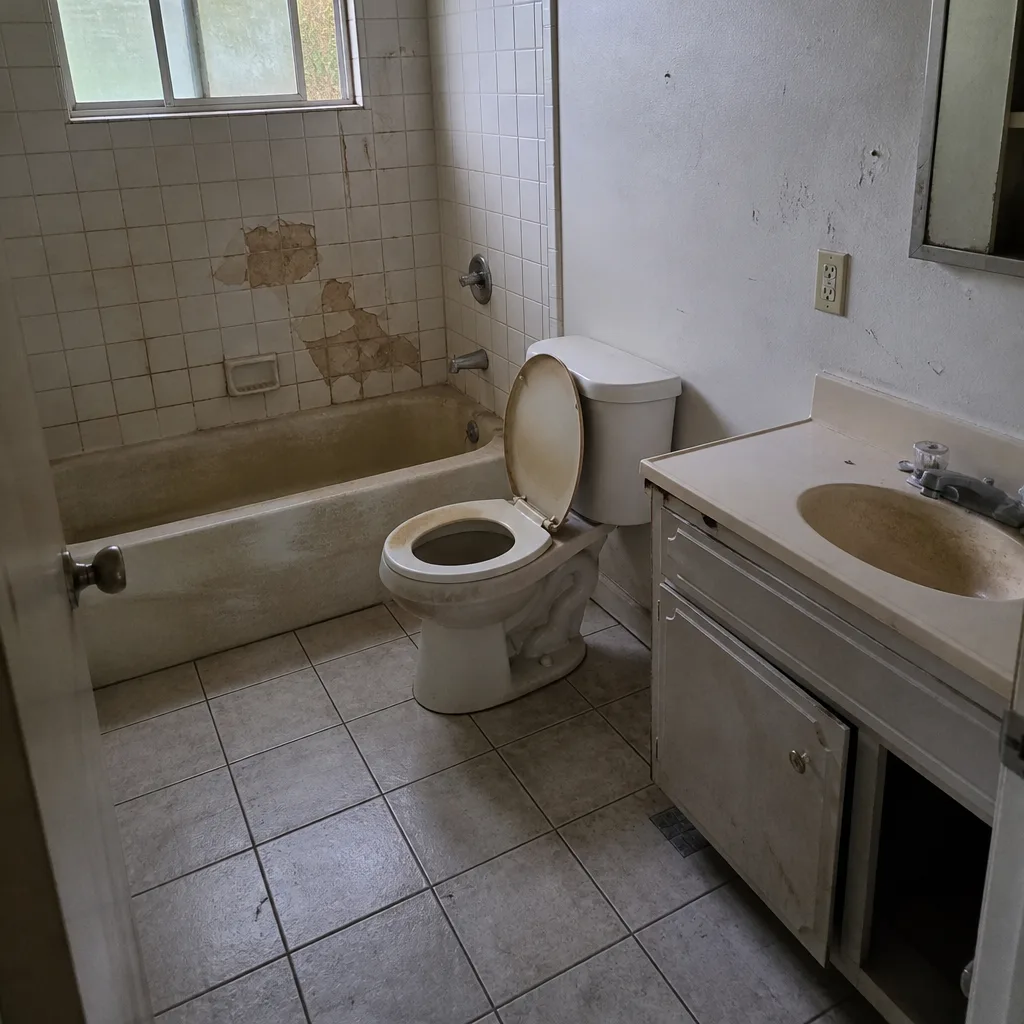
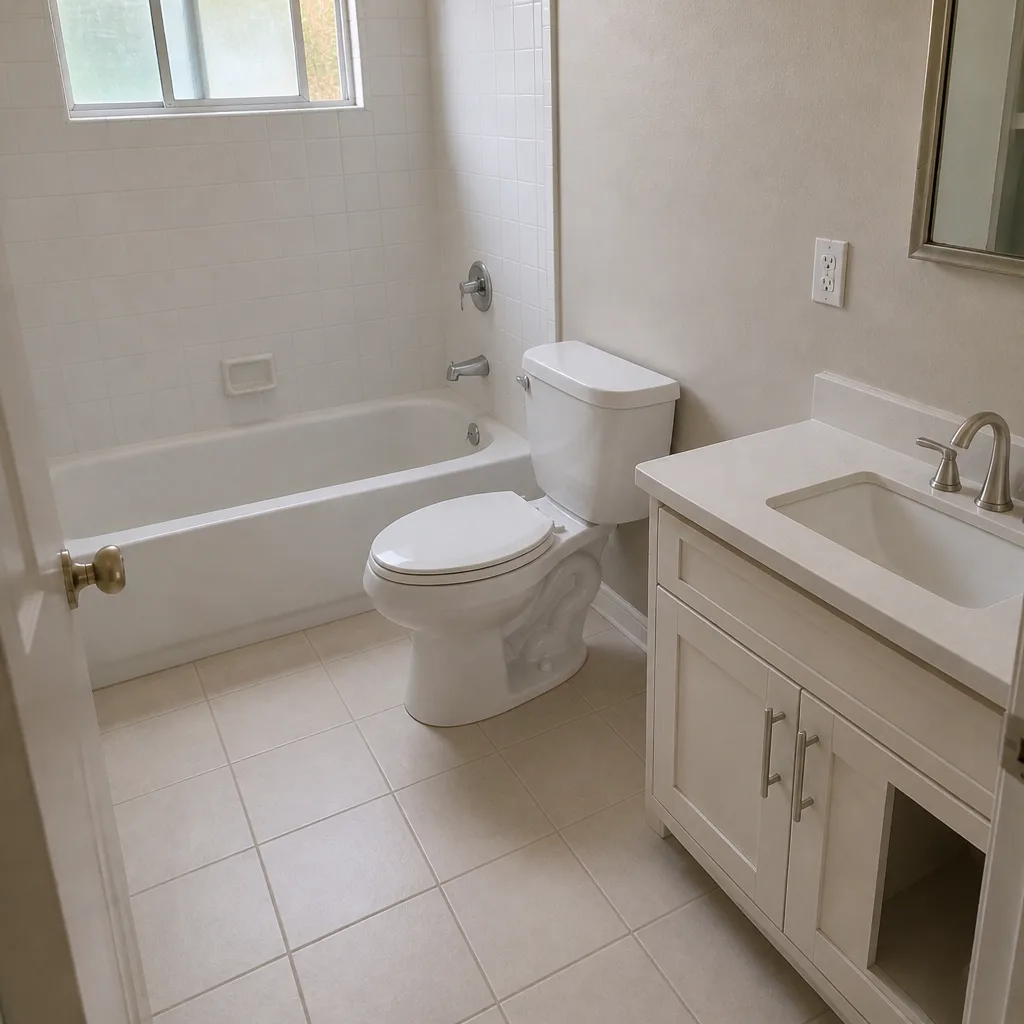
See the difference
 Before
 After
 Before
 After
 Before
 After
When to Call a Professional
Some tasks are genuinely DIY-friendly, and others aren’t. Gutter clearing and visual inspection you can handle yourself. Call a professional when the job involves the roof surface and height work, when you’ve found persistent water intrusion you can’t trace to a source, when caulk failure spans large sections of the envelope, when roofing materials show wear that could mean replacement, and when drainage problems point to grading or hardscape base issues that need more than a patch. Roof and height work in particular carry real falls risk; a trained professional should handle anything on a steep pitch or beyond safe step access. Whether or not you need a permit depends on the scope; most cities require a permit for structural changes and additions, so ask your city’s building department when a project crosses from maintenance into construction. Construction Vallejo offers free estimates in Vallejo – call (844) 684-1772. Our technicians have up to 15 years of experience, and every estimate is a written line-item quote so you know exactly what the job involves.
Frequently Asked Questions
The single most important task is exterior sealing and crack filling done in the dry fall window, before the first significant rain. It’s the work that prevents the most expensive downstream problems: water intrusion, rotted wood, and failed flashing. Do it on time and most winter and spring repairs never become necessary.
Fall offers dry, workable conditions that let sealants and crack filler bond properly before the rainy season starts. Apply them in damp conditions or right before rain and they cure poorly and fail early. In this climate the window between “dry enough” and “too wet” is narrow, which is why the timing is worth planning around.
Fog keeps roof surfaces damp for hours on summer mornings, which gives any small gap or flash failure time to let moisture creep in before the sun dries things out. Over a season, that cycling is how small roofing issues turn into deck repairs. North-facing slopes, which dry last, tend to show wear first.
Not necessarily. Re-seal pavers and asphalt when the surface stops beading water or starts to look dull, not on a fixed annual schedule. Over-sealing builds up rather than protecting. Crack sealing, on the other hand, should be done in fall whenever cracks appear.
During heavy rain, watch downspout discharge, where water stands on pavers or pavement, and whether soil stays saturated against the foundation perimeter. Inside, note any ceiling or wall staining and dampness around windows. Documenting these during the season tells you exactly what to inspect and repair in spring.
Yes, and it’s often easier. A single-source contractor who handles roofing, driveways, fencing, windows and doors, kitchen, bath, and additions can sequence the whole property’s calendar rather than coordinating separate trades. That means less chasing, fewer handoffs, and consistent specification across every project.
The Bottom Line
Seasonal construction care in Vallejo comes down to four windows: seal in fall before the rain arrives, monitor in winter, inspect in sequence in spring, and address UV and heat damage in summer. The fog-and-heat cycling of this climate is what makes timing matter so much, because materials here dry too slowly in one direction and degrade too fast in the other. Get the timing right and the expensive repairs mostly never start. Get it wrong and you’re patching water intrusion all winter. If you’d rather have the whole calendar handled across the whole property, we can do that under one relationship. Call (844) 684-1772 for a free estimate. We answer 24/7. Fast dispatch from 7am to 7pm, Sunday through Friday.
Written by the team at Construction Vallejo.