Last updated November 18, 2026



Free written scope consultation - allowances, timeline, and change-order rules on paper before a single trade is scheduled
Driveway & Pavers Maintenance Checklist for Vallejo Homeowners
Most paver failure in Vallejo doesn’t announce itself with a crack. It starts with joint sand quietly washing out of the seams, and by the time you see a sunken or wobbly paver, water has usually been running under the surface for at least a full rainy season. The visible problem is the last thing to appear, not the first. That gap between what’s happening under your driveway and what you can see is where most repair budgets get lost. This checklist walks through what actually degrades pavers in Vallejo’s specific climate, month by month, and tells you when a simple resand and reseal will hold versus when the base needs to come out and be rebuilt.
Quick Answer
The single highest-return maintenance task on a paver driveway in Vallejo is inspecting and refilling the polymeric sand joints before the rainy season starts, because joint sand is what keeps water out of the base. Beyond that, a proper annual routine means cleaning once a year, checking sealer condition every spring, watching the edges for lifting and the interior for sag patterns, and knowing the difference between a surface problem you can treat and a base problem you can’t. Get the joints and the base right and a paver driveway will outlast poured concrete by a wide margin.
Styles & brands we work with
- Kitchen remodeling
- Bathroom remodeling
- Home additions & ADU
- Roofing
- Windows & doors
- Driveway & pavers
- Fence
Table of Contents
- Why Vallejo’s Climate Is Hard on Pavers
- A Month-by-Month Maintenance Calendar
- Joint Sand: The Highest-ROI Task You Can Do
- Sealer in Vallejo’s UV: What Works and What Traps Moisture
- Base Movement: Early Warning Signs on Clay-Heavy Subgrades
- Repair, Resand, or Rebuild? A Decision Framework
- Why Material Choice Determines Maintenance Load
- Common Mistakes to Avoid
- When to Call a Professional
- Frequently Asked Questions
Why Vallejo’s Climate Is Hard on Pavers
Vallejo sits where the San Pablo Bay meets the Napa River, and the weather that results is a specific combination that most generic paver checklists don’t account for. Our wet season concentrates into a handful of months, often arriving fast and leaving the ground saturated for stretches. Then the dry season hits with strong, direct sun and weeks of clear UV exposure. Pavers, joint sand, and sealer don’t experience those two forces separately. They experience them in sequence, year after year, and that sequence is what wears them down.
The wet months are when water finds every weakness. It gets into hairline joint cracks, sits against the base, and softens the compacted aggregate underneath. Then the dry months bake whatever moisture is left, which drives expansion and contraction through the pavers and the sand seams. A driveway that looked fine in October can show its first real problems in March once the cycles have had a season to do their work.
Add the ground itself, and you have a second layer to the story. Much of Vallejo’s residential ground includes clay-heavy soils, and clay does two things that matter for pavers. It holds water much longer than sandy or gravelly soil, and it swells and shrinks with moisture content. When a base sits over clay that never fully drains, the base loses compaction and the surface above it starts to move.
None of this means pavers are a bad choice here. It means maintenance in Vallejo is about timing. The same tasks done in the wrong month do far less good than the same tasks done before the rain arrives.
What this means for how you plan maintenance
In our experience, Vallejo homeowners who do their resanding in the late dry season and their sealer check in early spring get far more out of both tasks than those who do them whenever they remember. The order of operations matters, too. Sand goes in first, then sealer, not the other way around. A sealer applied over failing joints simply locks in a bad situation.
A Month-by-Month Maintenance Calendar
Generic four-season advice doesn’t translate to Vallejo. There’s no hard freeze and no heavy snow load. Instead, the year splits into a long dry stretch and a concentrated wet stretch, and the transition between them is where the important work happens. Here’s how the year actually breaks down for a paver driveway in Vallejo.
January through March: watch and diagnose
- Check the joints after every significant rain. Look for widened seams and any spot where water pools or drains slowly instead of running off.
- Walk the perimeter. Press down on the edge pavers with a firm foot. Any rock or give at an edge is worth noting.
- Watch for settlement. A slight dip that appeared during the wet months is often the first visible sign of a base problem, not just a worn surface.
- Note where puddles sit longest. Standing water is a drainage signal, and drainage is what base problems are usually about.
April through June: inspect the sealer and address spring issues
This is the right window to look hard at your sealer. If the surface still beads water in the first rains of spring, the sealer is doing its job. If it drinks water in, or looks chalky and pale, it’s either wearing thin or it was applied wrong to begin with. Any spot where the surface stays dark for hours after the rest dried is trapping moisture, not blocking it. Early dry weather also reveals the true surface – settlement patterns and joint hairline cracks are easier to see on a clean, dry slab than on a wet one.
July through September: do the heavy work
This is the season for cleaning, resanding, and resealing, in that order. The pavers are dry, and dry pavers are ready pavers. Cleaning in the dry season means the sand you put back in the joints is going into a stable surface. Resanding before the first fall rain is the single most valuable thing you’ll do all year. And a sealer applied to clean, dry, properly jointed pavers has the whole dry season to cure before the wet weather tests it.
October through December: prep and protect
Finish any resanding by the time the wet season settles in. Once the rain starts, sanding is a losing proposition because the sand won’t cure and the joints won’t hold. This stretch is for the last round of edge checks and for clearing debris – leaves, soil, and grit off the surface so it doesn’t get pushed into the joints or block drainage.
Joint Sand: The Highest-ROI Task You Can Do
If you remember one thing from this checklist, make it this: joint sand is not filler. It’s the layer that keeps water out of the base, and on a paver driveway in Vallejo, that’s the whole ballgame. Polymeric sand mixed with water cures into a semi-flexible plug inside each joint. That plug absorbs the tiny movements of individual pavers, resists being washed out by rain, and forms a relatively continuous surface that sheds water instead of drinking it.
What goes wrong is time. Polymeric sand doesn’t last forever. UV exposure breaks down the binding agents, and the sand eventually loosens and washes away. On a driveway, foot and vehicle traffic accelerates that. When the sand drops below a certain depth in any joint, water goes straight down through that joint into the base, and once the base starts absorbing water, it begins to lose compaction.
How to check if your joints need sand
- Pick a dry day. Wet joints hide the truth.
- Look closely at the joints between pavers. A healthy joint sits slightly below the paver surface and looks packed and even. A failing joint looks hollow and shallow, with visible gaps or loose grains.
- Test a few joints with a stiff probe or a pencil tip. If the sand is soft or won’t hold the probe, the joint is past its useful life.
- Take a walk after a rain. Joints where water obviously pooled and drained slowly are exactly where the sand has given out.
How refilling actually works
Resanding isn’t a matter of dumping a bag of sand on the driveway. The joints need to be cleaned out to a consistent depth with a stiff brush and a blower, then filled with polymeric sand, swept into the joints, compacted with a plate compactor, and misted with water to activate the binder. Done right, that sand will cure and shed water. Done wrong, it will wash away in the first heavy rain or fail to set at all. This is why fall resanding is so important, and why a rushed resand in the wet season usually fails.
We specify polymeric sand rather than plain washed sand for paver driveways specifically because of the wet-to-dry swing in Vallejo. Plain sand moves more and washes out faster. Polymeric sand is the right material for this climate, and cutting that corner costs more over the years than doing it right.
Sealer in Vallejo’s UV: What Works and What Traps Moisture
Sealer does two jobs for a paver driveway. It blocks UV damage to the pavers themselves, and it slows water absorption into the surface. Both matter in Vallejo, where dry-season UV is strong and the wet season is concentrated. But sealer is also where a lot of homeowners accidentally make their driveway worse. Here’s the difference between the right and wrong texture.
What makes a suitable sealer
- Breathable, rather than fully sealing. A paver system needs to be able to release vapor. A completely sealed surface that doesn’t allow vapor escape will trap moisture underneath and cause it to reach the base.
- UV-resistant. Vallejo’s dry-season sun is strong enough that a non-UV-rated product will chalk and fade within a couple of seasons. Look for a sealer designed for outdoor masonry in a high-UV climate.
- Formulated for the specific paver material. Concrete pavers, clay brick pavers, and permeable pavers don’t all take the same product. What a sealer is compatible with matters more than brand alone.
How to spot a sealer that’s trapping moisture
Here’s the diagnostic that matters more than any other. After a rain, look at your driveway several hours after the surface should be dry. If most of the driveway has dried to its normal color but specific spots stay dark and damp, those spots are the problem. A healthy, breathable sealer will still allow vapor to escape, so the surface dries evenly. A sealer that’s trapping moisture will keep specific areas wet, and that wetness migrates down into the base over time. Chalky, whitish hazing is another sign worth noting. That’s typically a sealer that won’t cure properly or was applied over a damp surface, and moisture has gotten trapped under it.
When to reseal, and when to strip first
If the surface beads water in the early rains and dries evenly after, the sealer is working and doesn’t need attention. If water soaks in quickly across the whole surface, the sealer has worn and can be refreshed. If the problem is localized to specific spots, or you have visible chalky residue, those areas typically need to be stripped before a new coat goes on. Adding a fresh coat over a failing sealer is one of the most common ways homeowners compound an existing problem.
Base Movement: Early Warning Signs on Clay-Heavy Subgrades
Base movement is the expensive problem, and it’s almost always foreshadowed by a cluster of early signs. Vallejo’s clay-heavy soils make those warnings worth knowing. A base that’s still compacted and dry underneath will hold pavers nearly perfectly flat for years. A base that’s been sitting wet for several seasons is a different story, and the signs are usually visible before anything dramatic happens.
The three signs worth watching for
- Edge lifting. When the driveway’s edge pavers rise slightly or tilt proud of the surrounding pavers, that’s often base settlement underneath the middle of the driveway forcing the surface to ride up at the edges. Anywhere the driveway borders a lower surface, like a lawn or a curb, is the first place to check.
- Interior sag patterns. A shallow bowl-shaped dip in the middle of the driveway is a classic sign that the base has lost compaction. It often shows up first in the pattern of where water sits after a rain, not in how the surface looks dry.
- Hairline joint cracking. Shallow cracks along the joint lines are normal surface weathering. Cracks that widen or run across pavers, especially where they connect to the sag pattern, are signaling that the surface is flexing because the base beneath it has shifted.
How clay fits in
Clay soils hold moisture and change volume with it. When the base is compacted properly and the surface sheds water well, the clay stays relatively stable. When the surface fails, whether because the joints have washed out or the sealer has stopped working, the clay below gets wet and swells. When it dries, it shrinks. That swell-and-shrink cycle, repeated through the wet and dry seasons, is what slowly moves a base out of alignment. The point isn’t to blame the soil. It’s that the surface is your defense against the soil, and every maintenance task on this checklist is really about keeping that defense working.
What to check after a wet winter
Walk the driveway with a straightedge or a long level after the wet season ends and look for any low spot that wasn’t there before. A dip that developed over one winter is a stronger signal than a dip that appeared after a decade of use. The earlier you catch it, the more likely a targeted repair will hold, and the less likely you’ll be pricing a full base rebuild.
Repair, Resand, or Rebuild? A Decision Framework
Most “should I repair or replace” advice comes down to how it looks. That’s the wrong measure. The right questions are whether the base is still stable and whether water can still reach it. Here’s the framework we use when evaluating a paver driveway in Vallejo.
Step 1: Check the base
Walk the full surface. Press down on pavers in the suspect areas, especially the center of the driveway. A paver that rocks underfoot is a paver whose base has lost compaction. A paver that’s firm in place is sitting on a base that’s still holding. If a wide area rocks, or the settlement spans more than a small cluster of pavers, the base is the problem.
Step 2: Check the water path
After a rain, watch where water actually goes. If water drains off the driveway as it should, and only the surface has worn, cleaning, resanding, and resealing will likely hold for years. If water is pooling in low spots, or if downspouts and lawn runoff are dumping onto the driveway, then resand only solves part of the problem. The drainage needs to be addressed at the same time, or you’ll be back in the same spot next season.
Step 3: Match the fix to the evidence
- Surface wear only – pavers flat and firm, joints shallow, sealer gone: clean, resand, reseal. This is a manageable job and DIY-able if you’re careful about the sequence.
- Localized settlement in a small area, base still firm around it: lift and reset the affected pavers, recompact, and resand. A targeted repair rather than a full rebuild.
- Broad settlement, widespread rocking, or a visible dip across the middle of the driveway: the base needs to be pulled up and rebuilt. Layering a new surface on a failed base is the one thing to avoid.
- Edge failure or lifting along a curb or border: the edge restraint or border has likely loosened, and even a good base can start to spread without it. This is worth fixing before the interior gets involved.
The line isn’t always obvious from the homeowner’s side. If you’re not sure which category you’re in, that judgment call is exactly what an on-site assessment is for, and we’re glad to do it. We handle work on existing paver driveways and new installations through our driveway & pavers work, and the same surface-and-base thinking applies either way.
Why Material Choice Determines Maintenance Load
Maintenance on a paver driveway isn’t just about how often you clean and reseal. It’s also about how much maintenance the paver itself was designed to demand. Not all pavers are created equal, and the ones you’d pick for a low-maintenance driveway in Vallejo are different from the budget-commodity pavers that show up on some installations. This is where material choice pays off over the long haul.
We work with pavers from Belgard, Unilock, Techo-Bloc, Tremron, and Cambridge Pavers. The reason isn’t brand loyalty. It’s that these manufacturers make pavers in material ranges that stand up better to a wet-then-dry cycle, with density and surface technology that behave differently than commodity concrete. A denser paver absorbs less water and holds its color longer under UV. A more accurately molded paver makes a tighter joint, which makes the joint sand last longer, which means less resanding. The whole maintenance chain gets easier when the paver itself is a better fit for the climate.
The other part of it is picking the right paver for the right place on the property. A paver in a pedestrian walkway and a paver in a driveway carrying a loaded truck aren’t doing the same job. We specify different products for different applications, and we care about that distinction because it’s part of why some driveways need far more attention than others over their lifespan.
None of this is worth overthinking if your driveway is already in place. The material choice matters most at the moment you’re building or rebuilding. If you’re planning a new driveway or a replacement, it’s the right conversation to have before the first paver goes down.
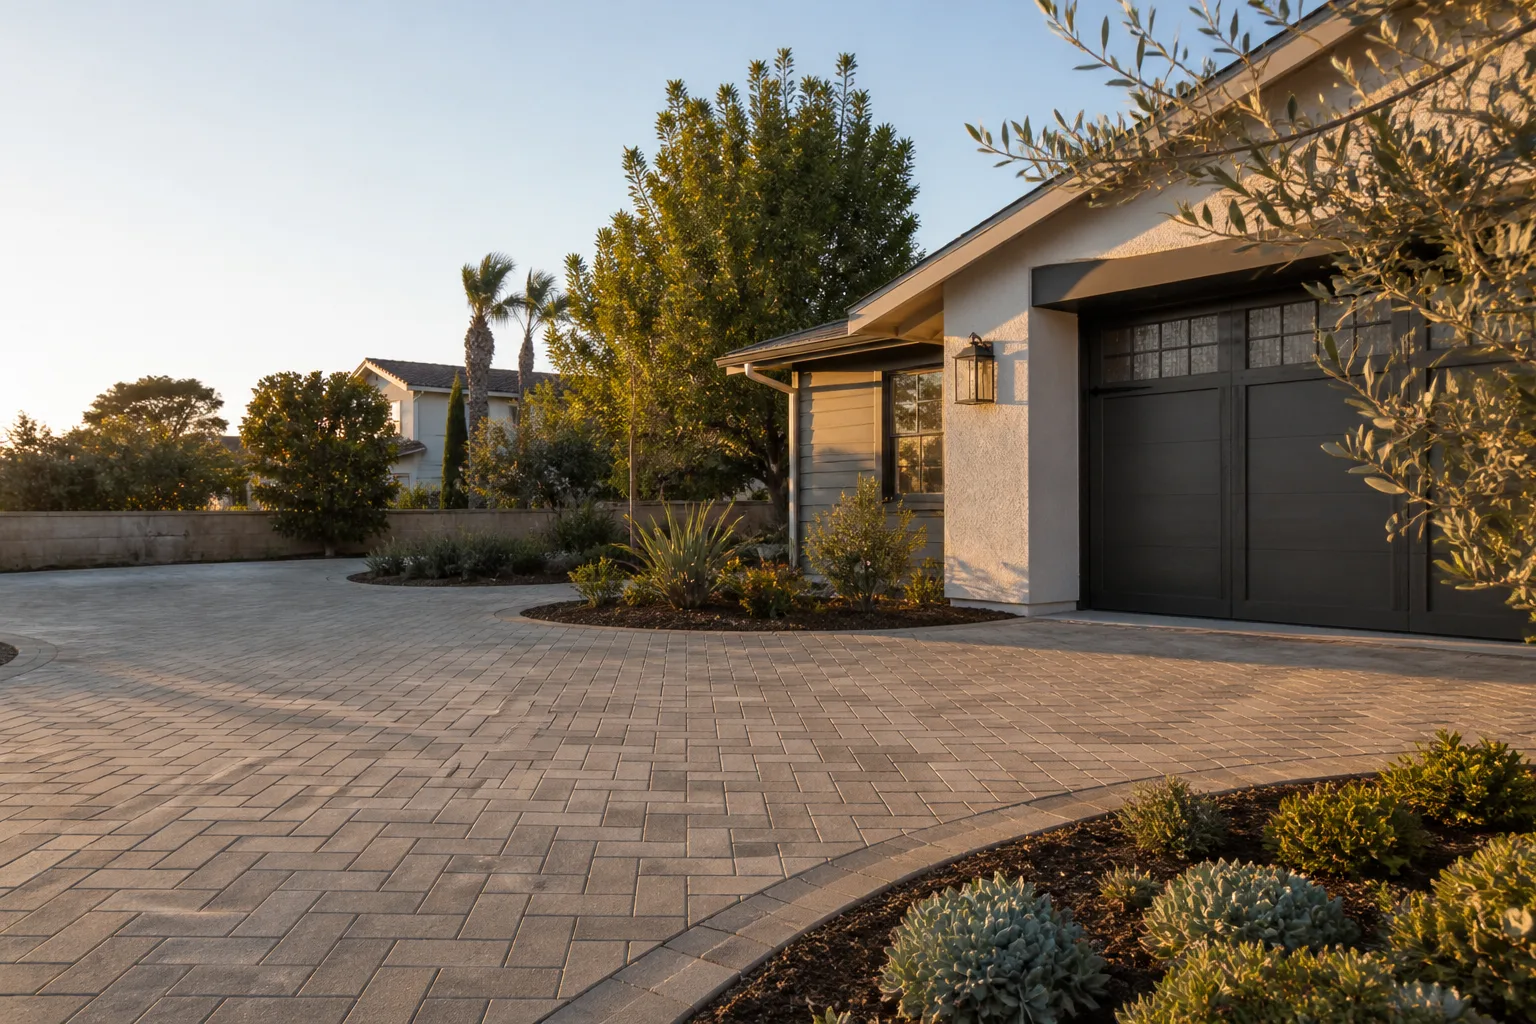
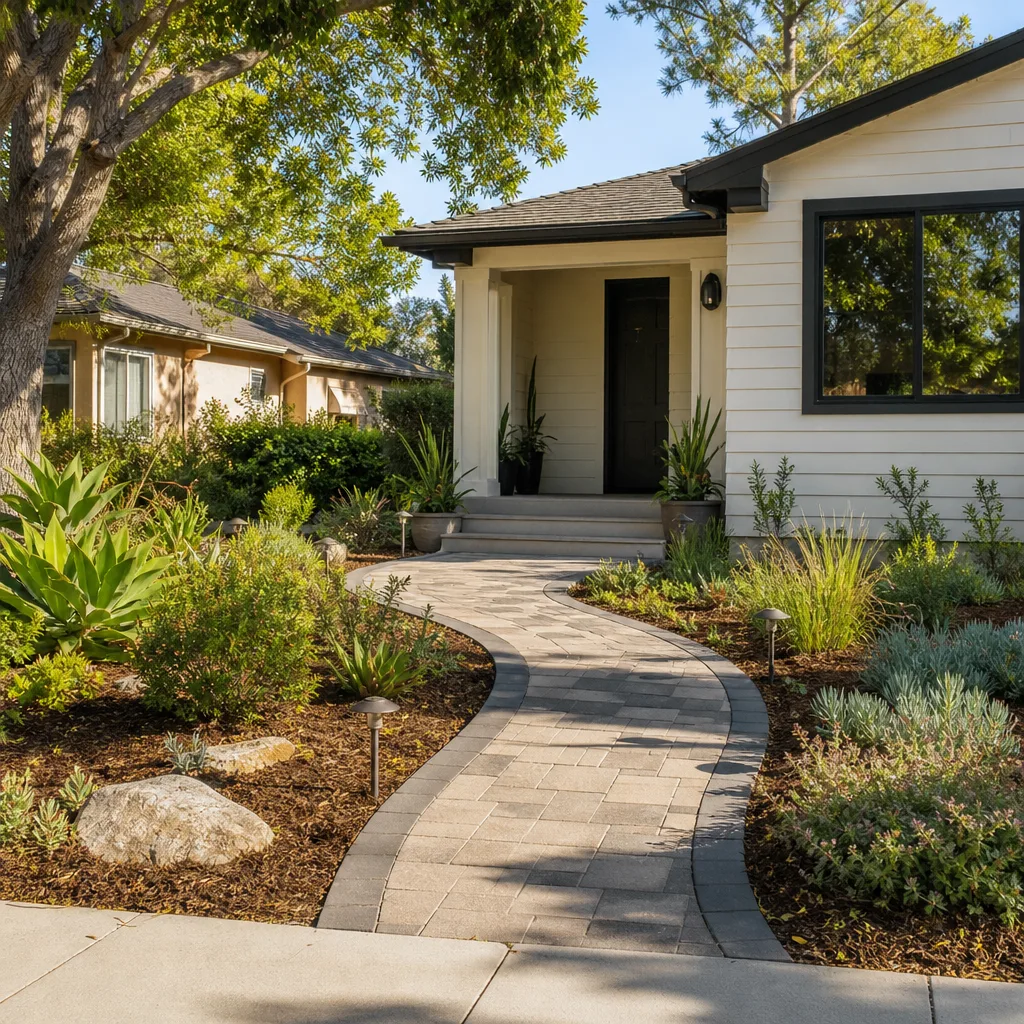
See the difference
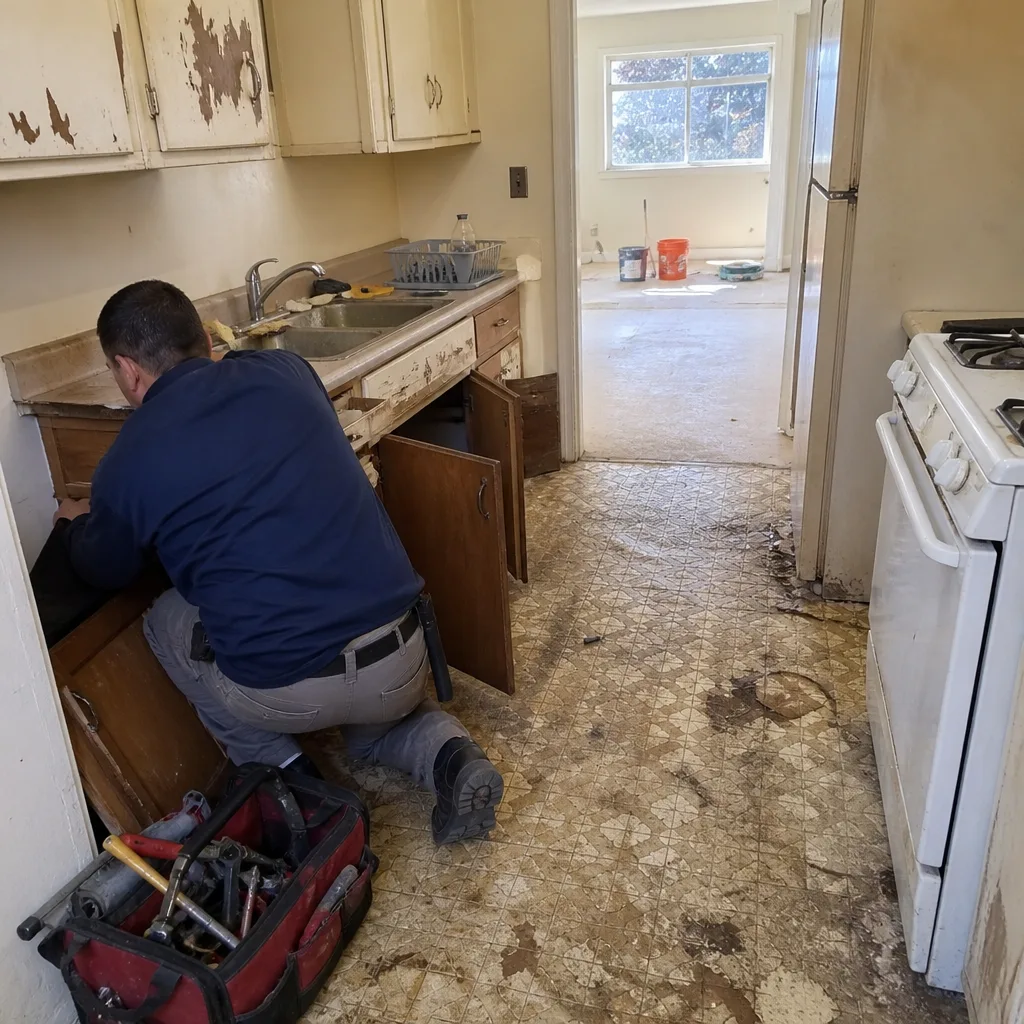 Before
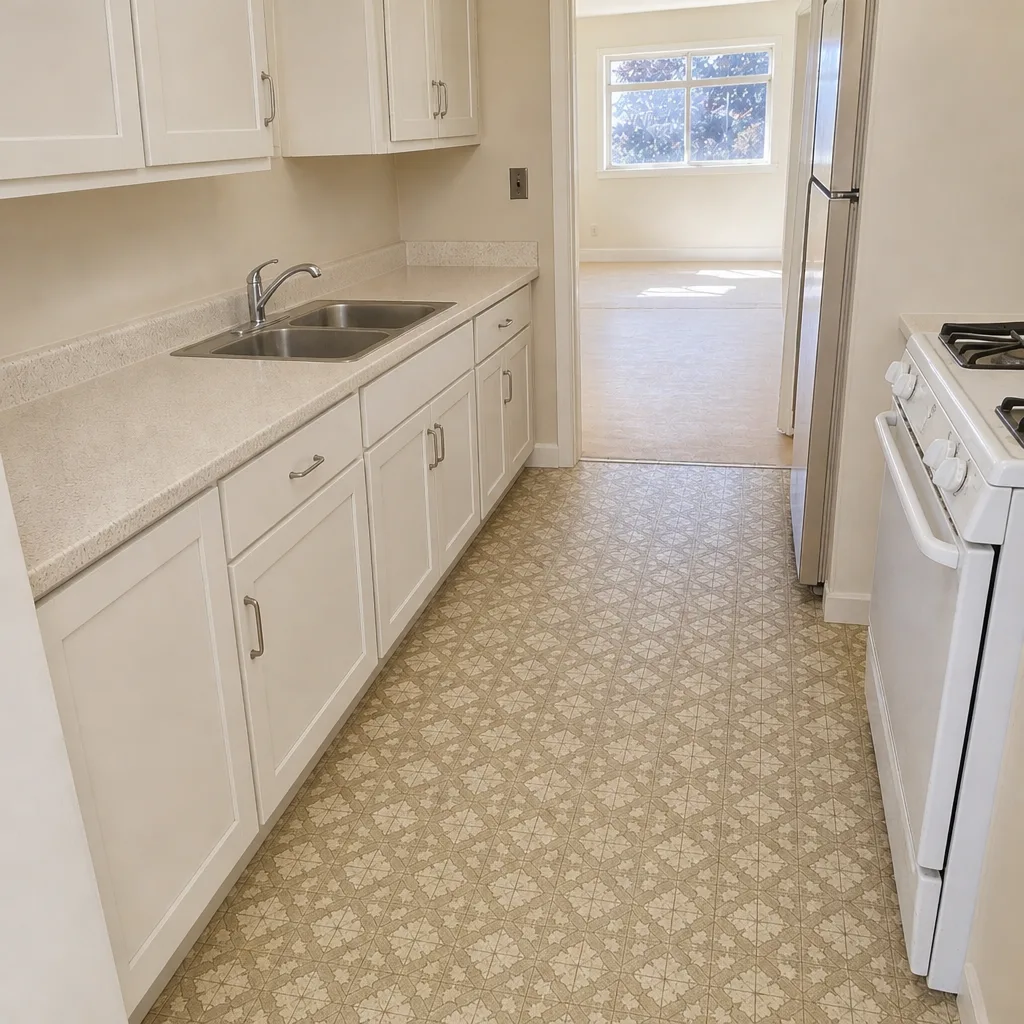 After
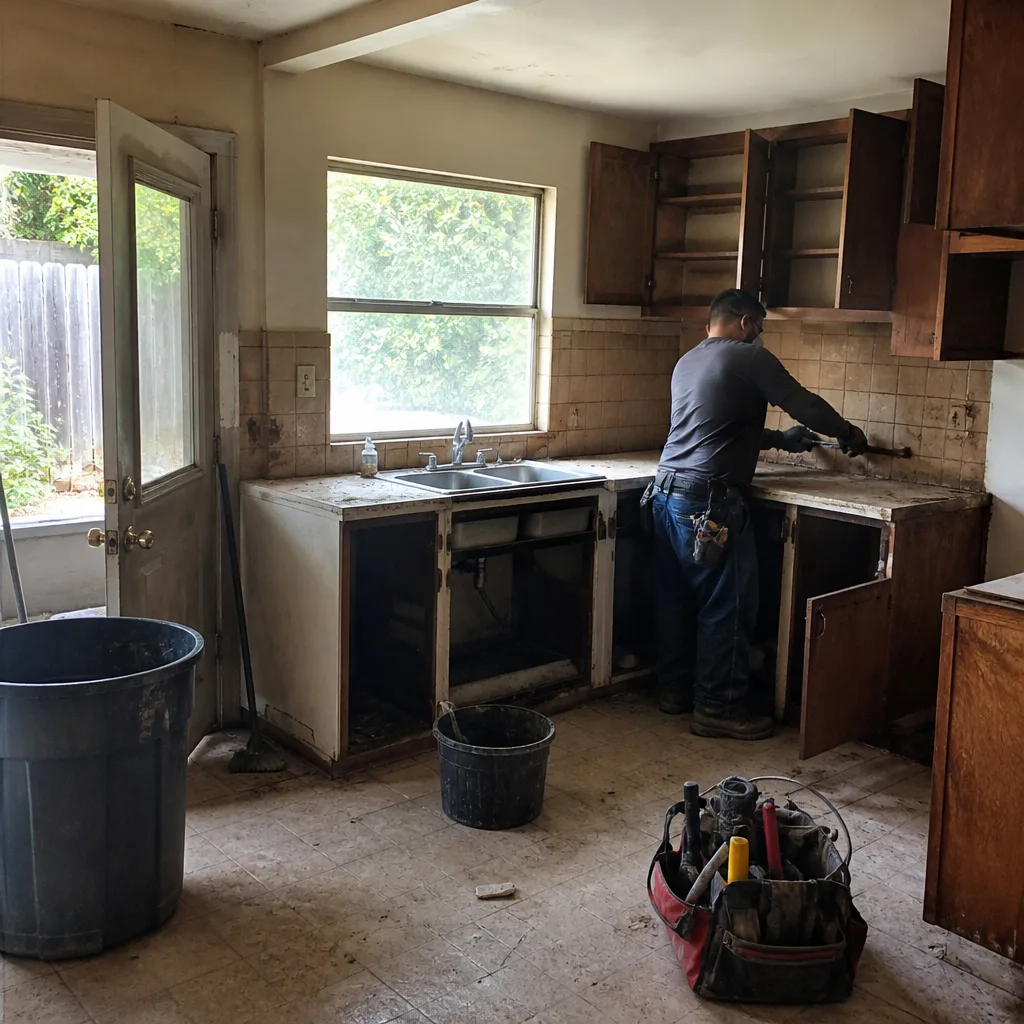 Before
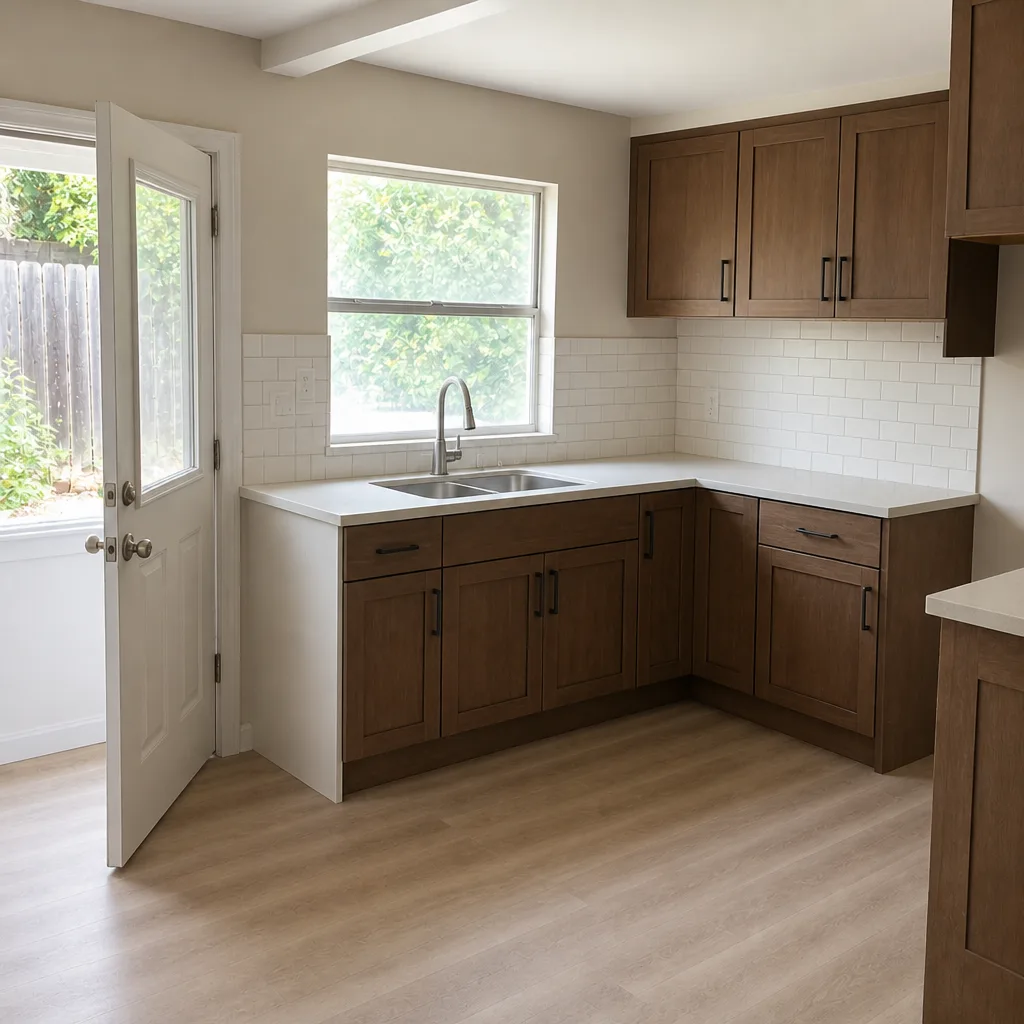 After
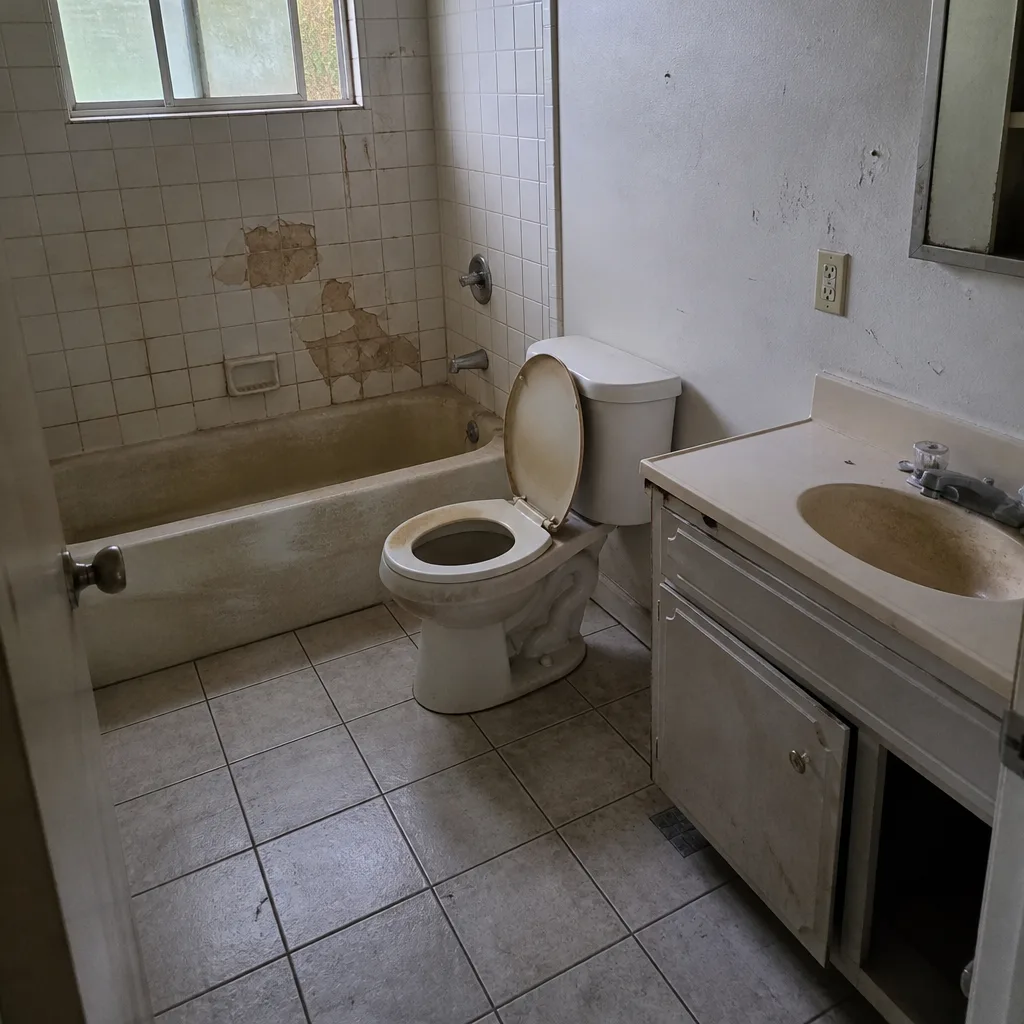 Before
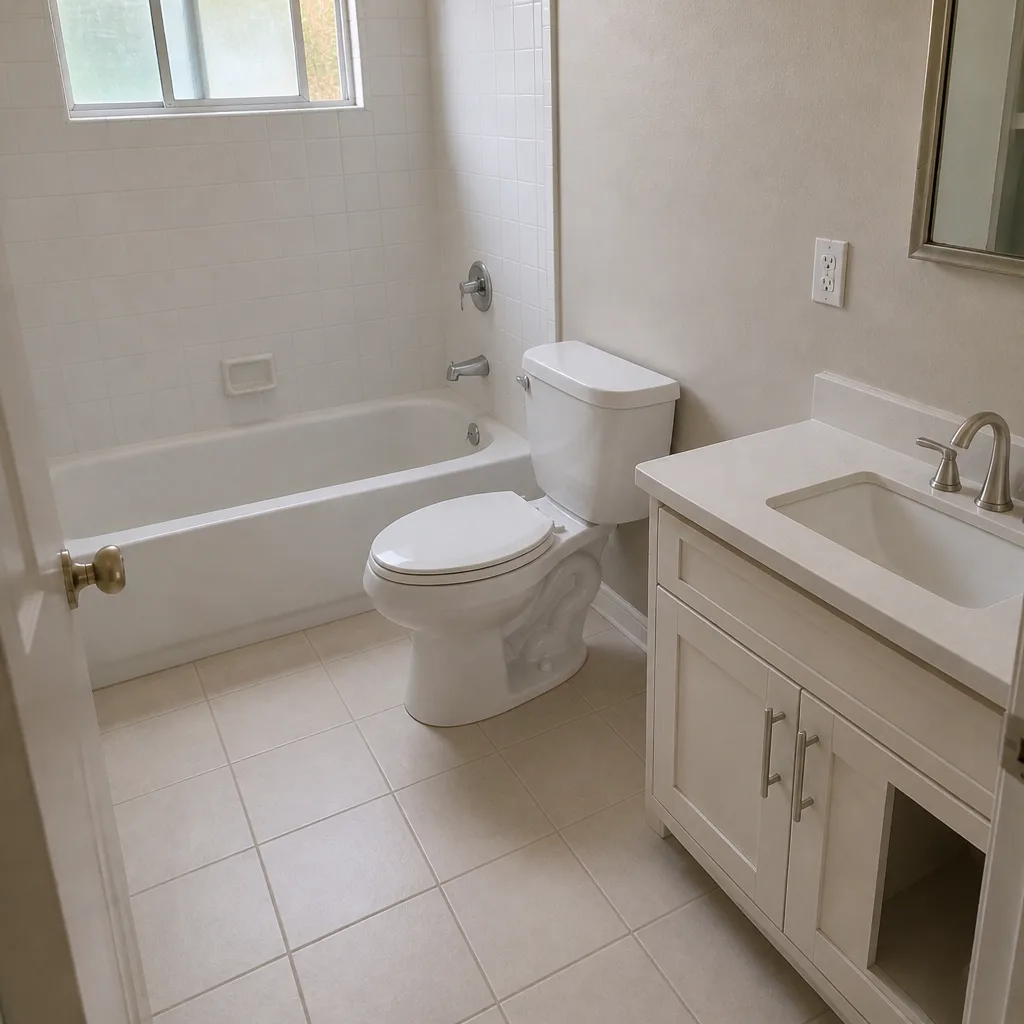 After
Whole-Property Thinking and Maintaining the Rest of the Property
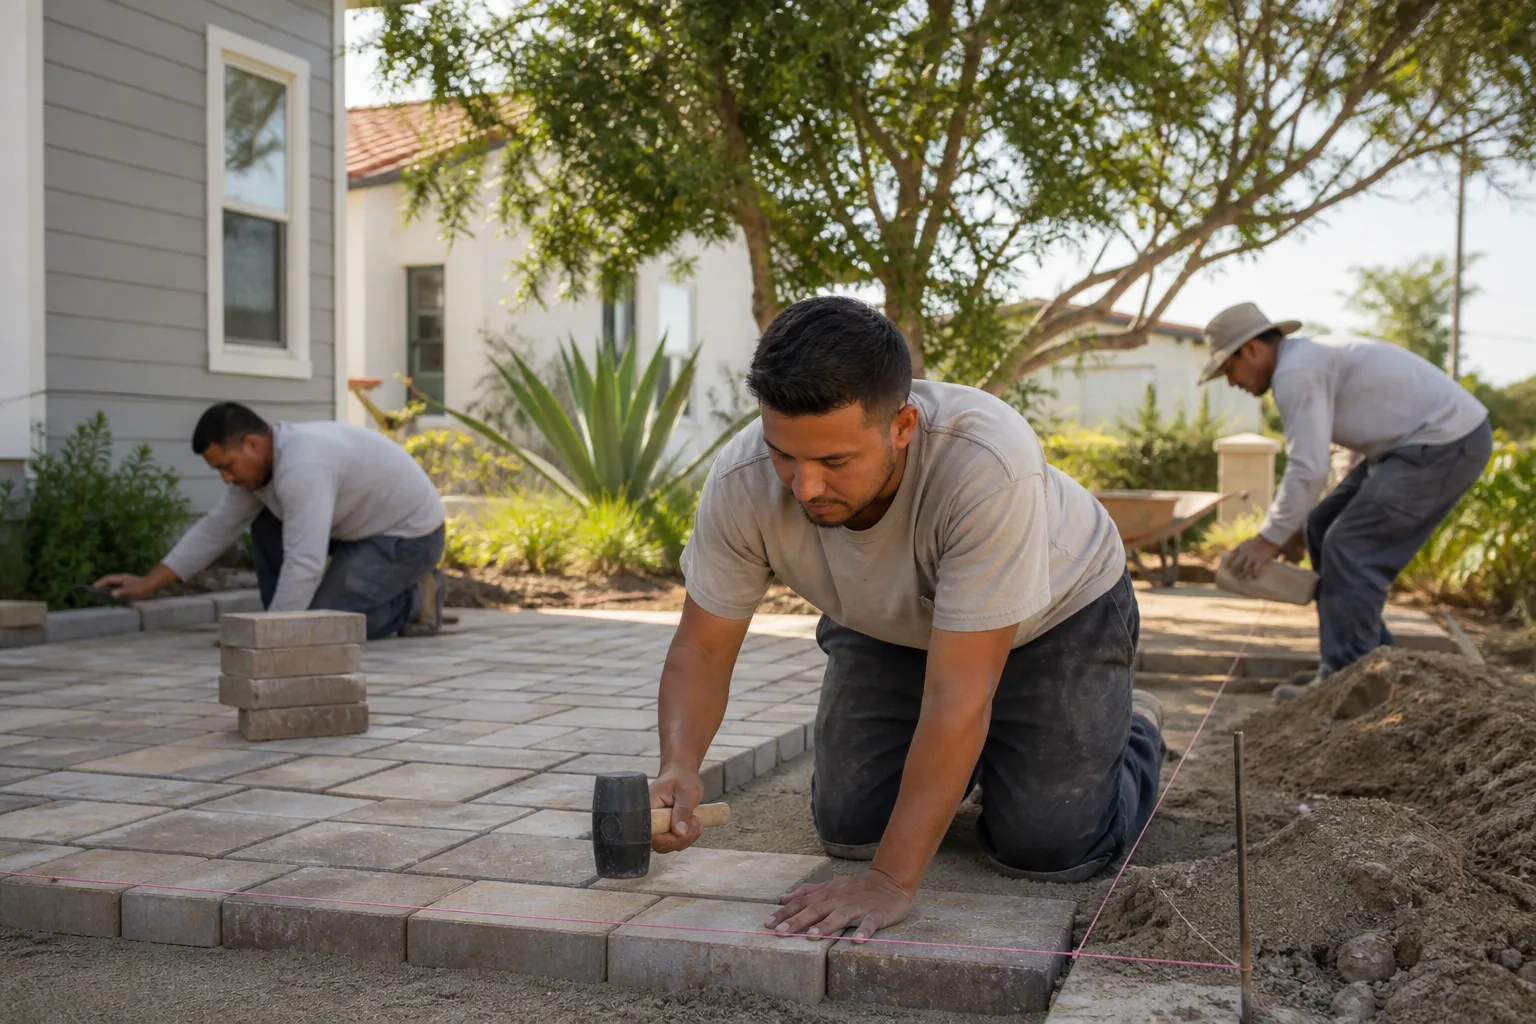
Apaver driveway doesn’t exist in isolation. Water on and off the driveway depends on where the house drains, what the fence line does at the property boundary, and whether the roof has a working gutter system. If you’re maintaining a driveway, some of the best things you can do for it aren’t on the driveway at all.
Roof runoff dumping onto your driveway accelerates joint washout and drives water into the base. If your gutters or downspouts are clogged or disconnected, water from every roof plane lands on the driveway all at once. That matters for maintenance just as much as resanding does. Fence installation affects it too. A fence panel that catches wind and sheds all its runoff onto a patio or the edge of your driveway can create localized erosion you’ll see as settling along that border. Fixing the discharge side of either one is often the single best fix for a persistent puddle.
Homeowners who plan to add a driveway, an attached structure, or any vehicle-access improvement to the property often find that the drainage and grading work ties directly into construction plans. If your driveway maintenance is happening at the same time you’re planning to expand living space or build out a new footprint, having it handled by a single full-scope contractor keeps the drainage, grading, and surface work in the same plan. We handle home additions & ADU projects alongside our driveway and paver work, and coordinating the two from the start is generally a stronger approach than separating them. If your only project right now is maintenance, that’s fine too. The point is that drainage, grading, and paving are connected decisions whether or not you plan them together.
What else in the property affects your driveway
- Gutters and downspouts – where roof water lands matters as much as the surface it lands on.
- Grading and drainage – a driveway where water pools is a driveway whose base is under constant stress.
- Adjacent hardscape – patios, sidewalks, and borders all move water toward or away from the driveway.
- Tree roots – shallow-rooted trees close to the driveway can lift pavers, especially in clay-heavy soil that holds water.
Common Mistakes to Avoid
- Resanding over dirty joints. Polymeric sand needs a clean, dry, correct-depth joint to cure into a working plug. Sweeping fresh sand over old dirt and debris means it binds to the dirt, not the joint, and washes out in the first significant rain.
- Sealing a damp surface. A sealer applied to pavers that aren’t fully dry will trap moisture underneath rather than block it. This is the most common route to a chalky, moisture-trapping sealer, and the fix usually means stripping it back off.
- Sealing before resanding. The sealer locks the joints before the sand has been refreshed. Always clean, then sand, then seal, in that order, and only in the dry season.
- Ignoring a single sunken paver. One low paver after a wet season is a data point. It usually means water has been reaching the base somewhere nearby. Treat it as the earliest possible warning, not as an aesthetic issue.
- Power washing aggressively on a worn surface. High-pressure washing on paver driveways with thin joint sand or a compromised sealer can drive out what’s left of the sand and open gaps that were doing their job. Gentle cleaning with the right approach preserves the surface much better.
- Letting water from the roof and lawn run onto the driveway. A driveway that’s constantly receiving water from elsewhere on the property will always need more maintenance than one that drains properly. Address the water source, not just the surface.
- Treating settling as a cosmetic problem. In Vallejo’s clay soils, settling usually means base movement underneath. Layering new pavers or a new surface on top of that base just hides the problem and makes the eventual repair bigger.
When to Call a Professional
Some of this maintenance is genuinely within reach for a careful homeowner with a free weekend in the dry season. Cleaning and resealing a driveway that’s otherwise sound is manageable. Resanding is trickier, but possible if you’ve got the tools and patience. Where it’s worth calling is when the problem moves below the surface. A paver that rocks, a dip that appeared over the wet season, an edge that’s lifting, or a driveway that keeps puddling after you’ve cleaned the joints and resealed – those are base and drainage issues, and they’re not solved by another bag of sand. The other case worth calling is when you’re planning a new paver driveway or a full replacement, where the paver choice and the base construction determine almost everything that happens afterward.
Construction Vallejo offers free estimates in Vallejo on paver repair, resanding and resealing, and full driveway replacements. Our technicians have up to 15 years of experience with paver installations and repair. Call (844) 684-1772. We answer 24/7. Fast dispatch from 7am to 7pm, Sunday through Friday.
Frequently Asked Questions
Most paver driveways in Vallejo need joint sand checked once a year, before the rainy season, and refilled in some percentage of the joints every one to three years depending on traffic and sun exposure. The right test isn’t the calendar – it’s walking the driveway and looking for joints where the sand has dropped noticeably below the paver surface. If the joints are shallow or soft when you probe them, it’s time. Call (844) 684-1772 for an on-site look, and we’ll tell you honestly whether you’re due for a resand.
You can, but a high-pressure washer is a bigger risk on pavers than most homeowners expect. Aggressive pressure can blast out remaining joint sand and open gaps in the surface. A broad-fan nozzle at low pressure, worked slowly, is much safer than a narrow high-pressure jet. If the joints are already in weak shape, it’s worth having the cleaning done as part of a resand and reseal rather than as a standalone task, so the joints get refilled right after.
Watch your driveway after a rain. If most of the surface dries evenly but specific patches stay dark and damp for hours, those patches are trapping moisture rather than letting the surface breathe. Chalky or whitish haze is another clear indicator, usually caused by sealing a surface that wasn’t fully dry. When you see either sign, stripping and reapplying is generally the right fix rather than adding another coat. Call (844) 684-1772 and we can assess whether your sealer is working or holding water back.
A localized dip usually means the base underneath that section has lost compaction or that water is reaching it from somewhere. In Vallejo, clay-heavy soils make this more likely once joints have failed or drainage is carrying water onto the driveway from the roof, the lawn, or an adjacent surface. The other common cause is a broken edge restraint that’s letting pavers spread and settle. The fix depends on which of those is actually happening, and that’s the value of an on-site look. Our technicians have up to 15 years of experience diagnosing base and drainage issues on paver driveways.
It’s worth repairing when the problem is localized and the surrounding base is still firm – one sagging spot or a cluster of a few pavers. It’s worth replacing or rebuilding when the settlement is broad, when pavers rock across a wide area, or when a visible dip runs across the middle of the driveway. The key test is whether the base is still doing its job under the pavers. A targeted repair is always preferable to a rebuild, and a rebuild is preferable to patching a base that keeps failing.
We handle both. That includes resanding, resealing, targeted paver replacement, and full driveway rebuilds where the base needs attention. For new installations we specify pavers from Belgard, Unilock, Techo-Bloc, Tremron, and Cambridge Pavers rather than commodity products, because material choice determines how much maintenance a driveway will demand over its life. If you’re also planning interior work, we can coordinate it as a single scope – the same relationship can cover Construction Vallejo work on a kitchen with KraftMaid cabinetry and a driveway rebuild without a handoff to another contractor. Call (844) 684-1772 for a free estimate.
The Bottom Line
Paver maintenance in Vallejo is really about one thing: keeping water out of the base. The joint sand and the sealer are the two layers that do that job, and both of them fail quietly and gradually. Keep them working and your driveway holds up through the wet season and the dry season year after year without any real drama. Miss them, and the base underneath starts moving in a way that no surface-level fix will correct. Check the joints once a year, clean and reseal in the dry months, and read the settlement signs early. If you catch a problem while it’s still just a shallow dip and a few shallow joints, it’s a manageable repair. If you don’t, it’s a base rebuild. We’re happy to help you figure out which one you’re looking at. Call (844) 684-1772 for a free estimate in Vallejo.
Written by the team at Construction Vallejo.